
How to Build Custom Picture Ledges
Happy Daylight Savings everyone!! I'm so excited to have more sunlight each day! Spring is just around the corner.
So this weekend Shad came down to NJ with me to help me hang a bunch of things at a client's house including these shelves that I built custom for a large wall next to their sliding glass door.

I asked him to come with me because I needed some manpower behind the drill to hang these shelves, and because he has amazing skill at hanging pictures. (He also never has to use the "special" tape measure that shows me what every little line means- he uses the old school kind with ease : P ) Bringing him not only meant a lot of time saved, but also less math for me (I'm not too hot at dividing measurements and fractions either.)
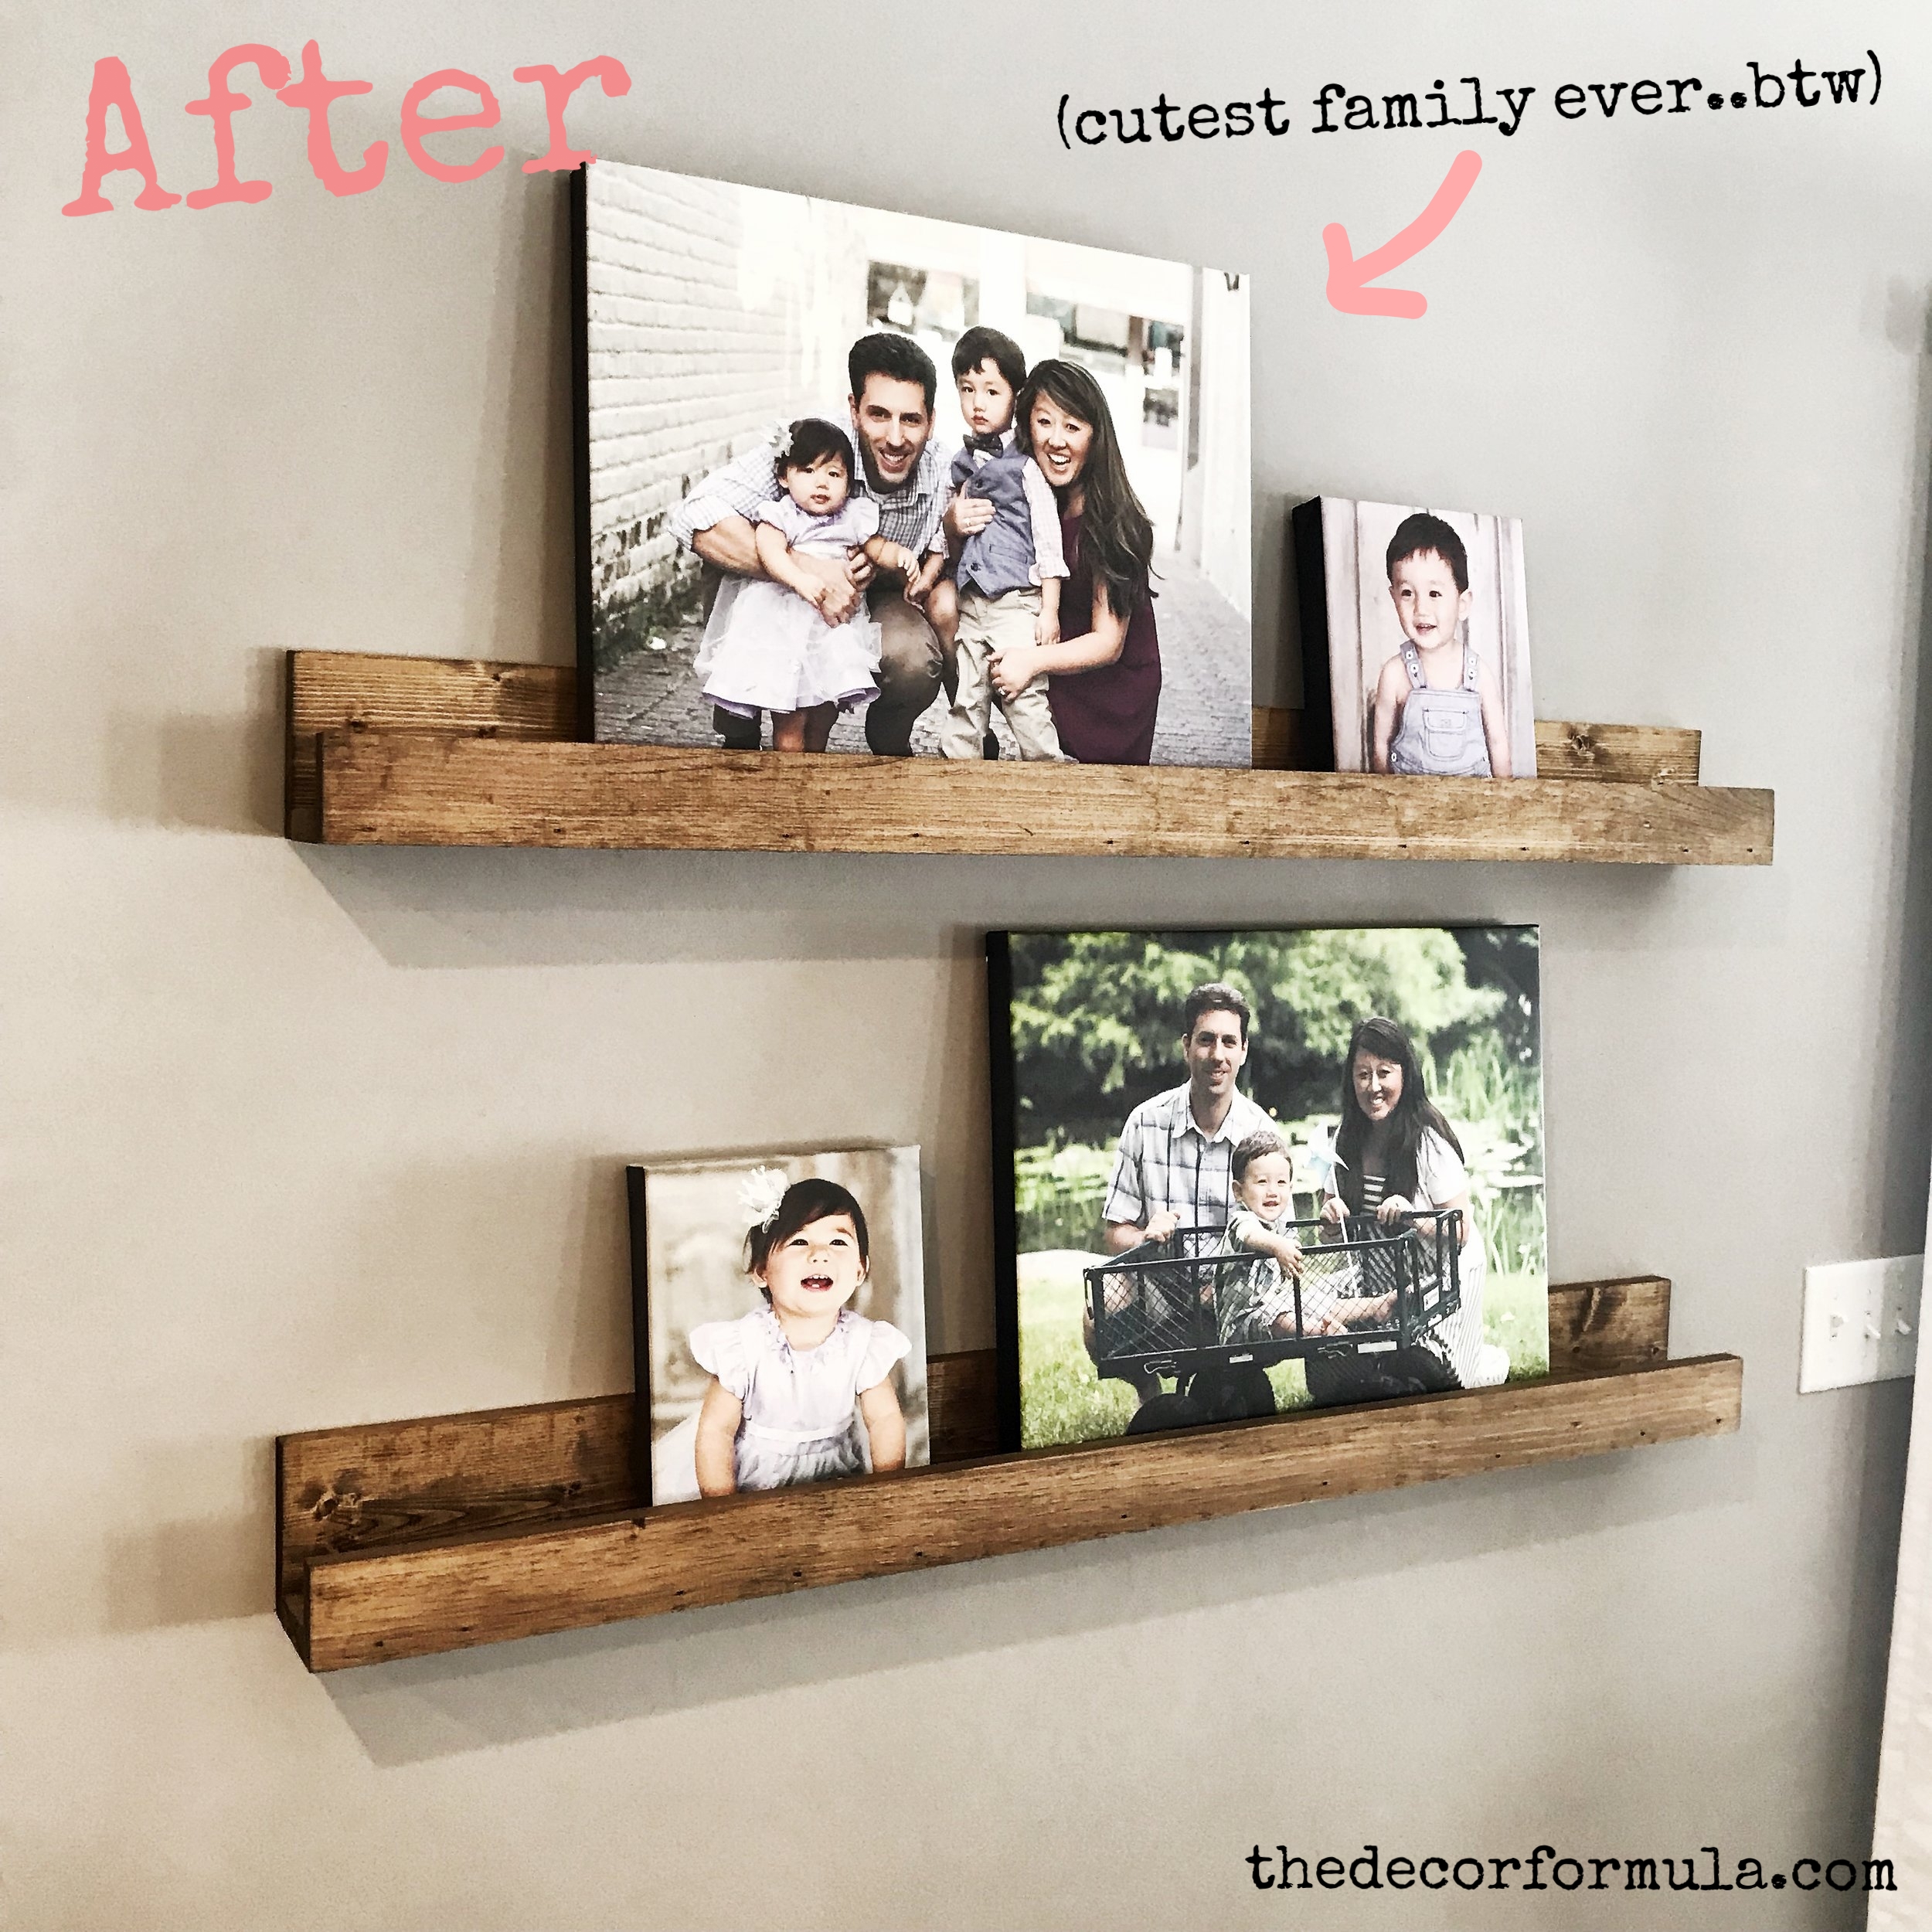
DIY Picture ledges or beams are a great way of displaying family photos and giving a custom look to a space without breaking the bank. Many home decor companies sell picture ledges and faux beams- but unfortunately the sizes they offer don't always match with the wall space you might have at home, and sometimes the colors don't match the finishes in your home either. With the DIY version you can not only customize the size, but you can stain them to match your existing floors and decor- all while saving a boatload of money.
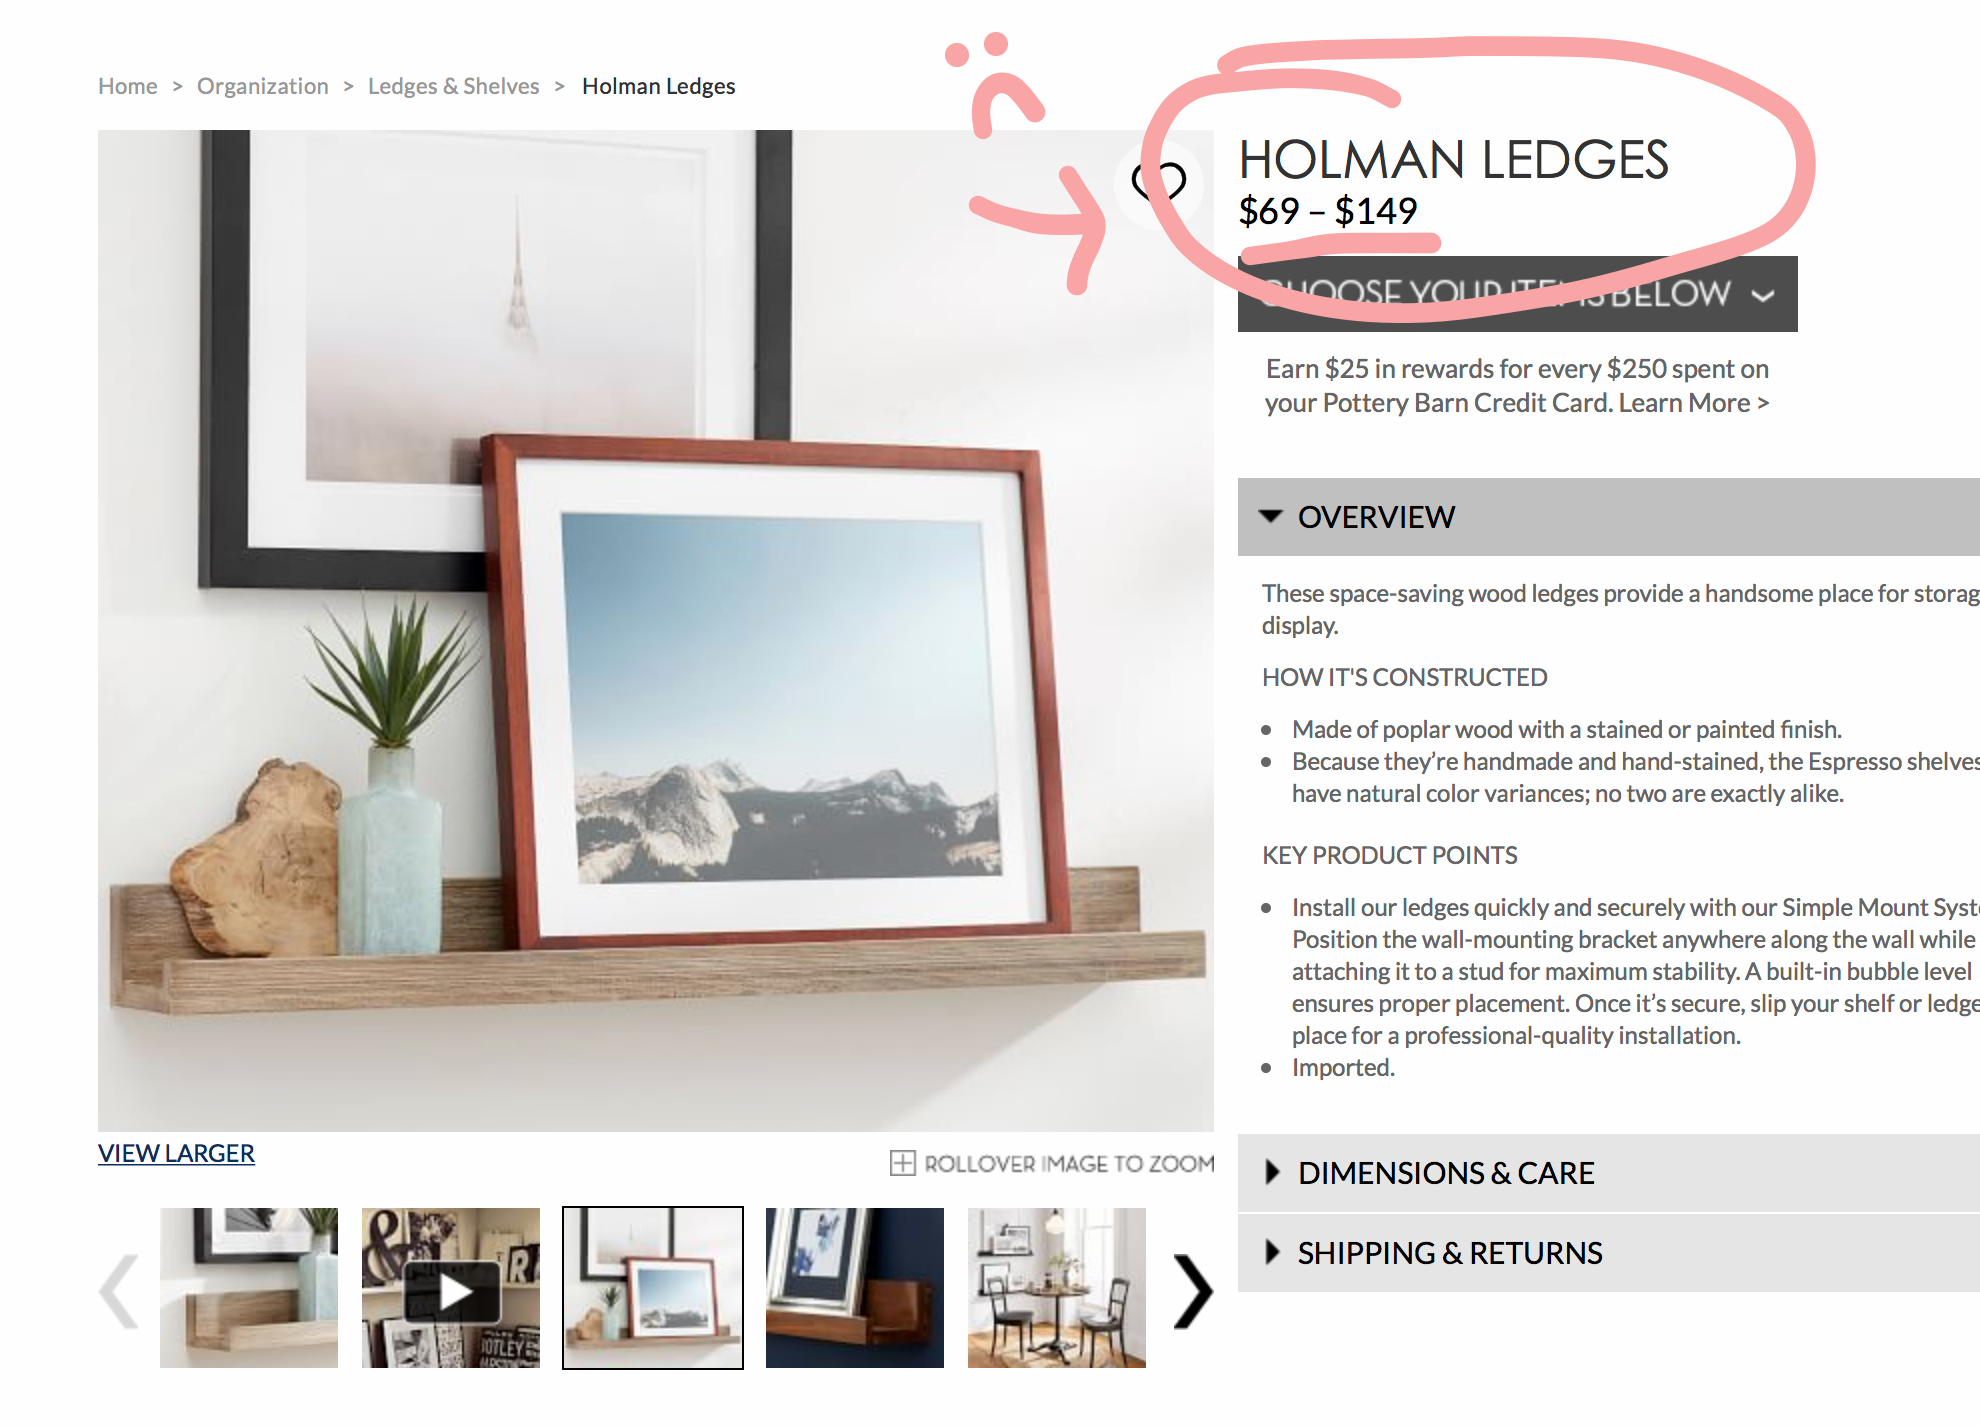
As I've said in previous posts- my most successful builds came out of a sheer desire to have a certain look on a shoestring budget. Case in point: When we first moved in to our home, I really fell in love with these faux beams from Pottery Barn to hang photos in my entryway.

The first problem was- I needed 3 shelves at a whopping $200-$250 a shelf . After you tack on the cost of "processing" and shipping- I'd be nearing $850 for three shelves!! Secondly (if you can even get past the price tag), they sold them two sizes: 4 ft and 5.5ft, and I needed 4.5ft to perfectly fit my space.
So I ventured out to Home Depot, purchased $57 in supplies, and was able to build these three 4.5ft barn beam shelves which perfectly matched our floors.I refer to them as my "Poverty Barn" shelves.
Poverty Barn: Pov-er-ty /barn/ adj. the state of loving pottery barn decor, but you can't afford it, or anything that looks pottery barn-ish, but cost me a fraction of the price

Picture ledges are an even easier, quicker, and less expensive build. Pottery Barn also has their own version of these shelves for anywhere between $70-$149 a ledge.
For my "Poverty-Barn" formula of these picture ledges you'll need the following supplies from your local Home Depot:
(1) 1x3x6ft common board + (2) 1x4x6ft common board + a small can of Minwax stain in the color of your choice
Details: These three 6 foot boards when built together, will yield you (2) picture ledge shelves up to 35 inches in length each for a total of $15.06 in wood. If you need longer shelves- you can buy the next length up (8 foot boards) to get two shelves up to 47 inches in length for $20 in wood. (That's what I did for the ledges pictured above. However, in my example from today I"ll be constructing four 28" shelves, and therefore I used 6 foot boards.)
Click on the pictures below for direct links to the wood I used.


Tools you need:
Tape Measure + Pencil + Triangle + Miter Saw + Nail Gun + 1 1/2 inch x 16 gauge nails + Trigger Clamp+ Foam Brush (to apply stain) + Rag or old t-shirt to wipe stain off.


Note: If you don't own a miter saw, you can have Home Depot cut the wood for you. Just make sure you know what size you want the wood to be cut to prior to going to the store. All of your wood is going to be cut to the same length. Make sure that whoever is cutting the wood is accounting for the 1/8th of an inch that the saw blade takes off with each cut. Also- my nail gun is a 16 gauge but there are other sizes as well, so make sure you are purchasing the right nails for your nail gun.
Two style choices:


The above diagram shows you the side view of the way in which the 1x4's and 1x3's sit on top of or overlap one another. It's your choice as to which way you want to go. In my "Preferred Way", I love how the backs are higher. The actual shelf space is sufficient enough to overlap and layer regular picture frames, but not canvases. The 2nd option is better for overlapping canvases because they tend to be thicker in depth.
Steps:
Construction Time: Less than 20 minutes for 4 shelves. (It took me way longer to write this post than it did to make these shelves).
Step 1: Measure your space to determine how big you need your shelves to be. In my example above, the space measured just over 5.5 feet, so I decided to build two 47 inch shelves (8 foot boards, cut to a little less than half). For my build today- I was constructing four 28 inch shelves.
Step 2: Go to Home Depot and purchase your wood. Tip: When purchasing wood, make sure that the wood is not warped or bent in any way. You can do this by putting the wood on the floor, turning it sideways, and eyeing it with one eye closed (if that makes sense). Warped and bent wood will throw off the shelf and your boards won't be perfectly flush against one another.

Example from my barn door project.
Step 3: Once your supplies are home. Start by measuring for your first cut. Mark your board. Take your triangle and draw a straight line on your board.


Step 4: Line up the saw blade to your marked line and cut your first board. After I make my first cut, I put together 2-3 boards at a time, and place the first cut on top of them. I then line up the ends of my board and cut multiple boards at once. (It makes the project go a lot faster).

Step 5: Once all your boards are cut, grab a sanding block or some sand paper and sand down the edges of the wood where your cuts were made. This is to make them smoother, because some of them will be splintered from the saw.

Step 6: Juice up your nail gun (if yours is attached to an air compressor), wait til the pressure is to at least 60 before beginning to nail. Choose your preferred style of how you want your boards to sit, from the style options I listed in the diagrams above. Press your first two 1x4 boards together with the trigger clamp, and start nailing from the bottom of the shelf. (Make sure to keep your gun straight, so that you don't shoot your nails on an angle and they end up showing through the wood.

Step 7: Take your 1x3, place it on top of your bottom 1x4, clamp and then nail it together.


Repeat these steps for the rest of your shelves. For this example I made 4 for another client's home.


Step 8: Pick a stain color and using your foam brush, brush the stain on the shelves. Let the stain sit for a minute, and then wipe it off with a rag or cut up t-shirt. I usually try to pick a stain that matches the existing finishes in the home. In my opening example- I stained it with Minwax's Provincial. I don't have pictures of me staining these shelves because I ran out of steam for today. These four shelves I will be staining tomorrow in English Chestnut, because the client's home has cherry colored floors.
How did we hang them?
We used a stud finder, level, high impact drill, and 2 inch screws. We found the studs in the wall and marked them. We put the level on top of the shelf, made it level, then screwed the shelf directly into the wall/stud on an angle. It takes two people to do this: one to hold the shelf and the level, and the other to screw it into the studs. Adhering it directly to the studs will insure that your shelves will hold up the weight of the frames, and also insure that the shelves aren't going anywhere if someone bangs into them.
And Viola- you have custom picture ledges and lots of extra money in your pocket from not purchasing them from PB :)

Thanks for reading my post! If you have any questions or are planning on trying this yourself, please feel free to comment below or share with a friend.
:) Barbra
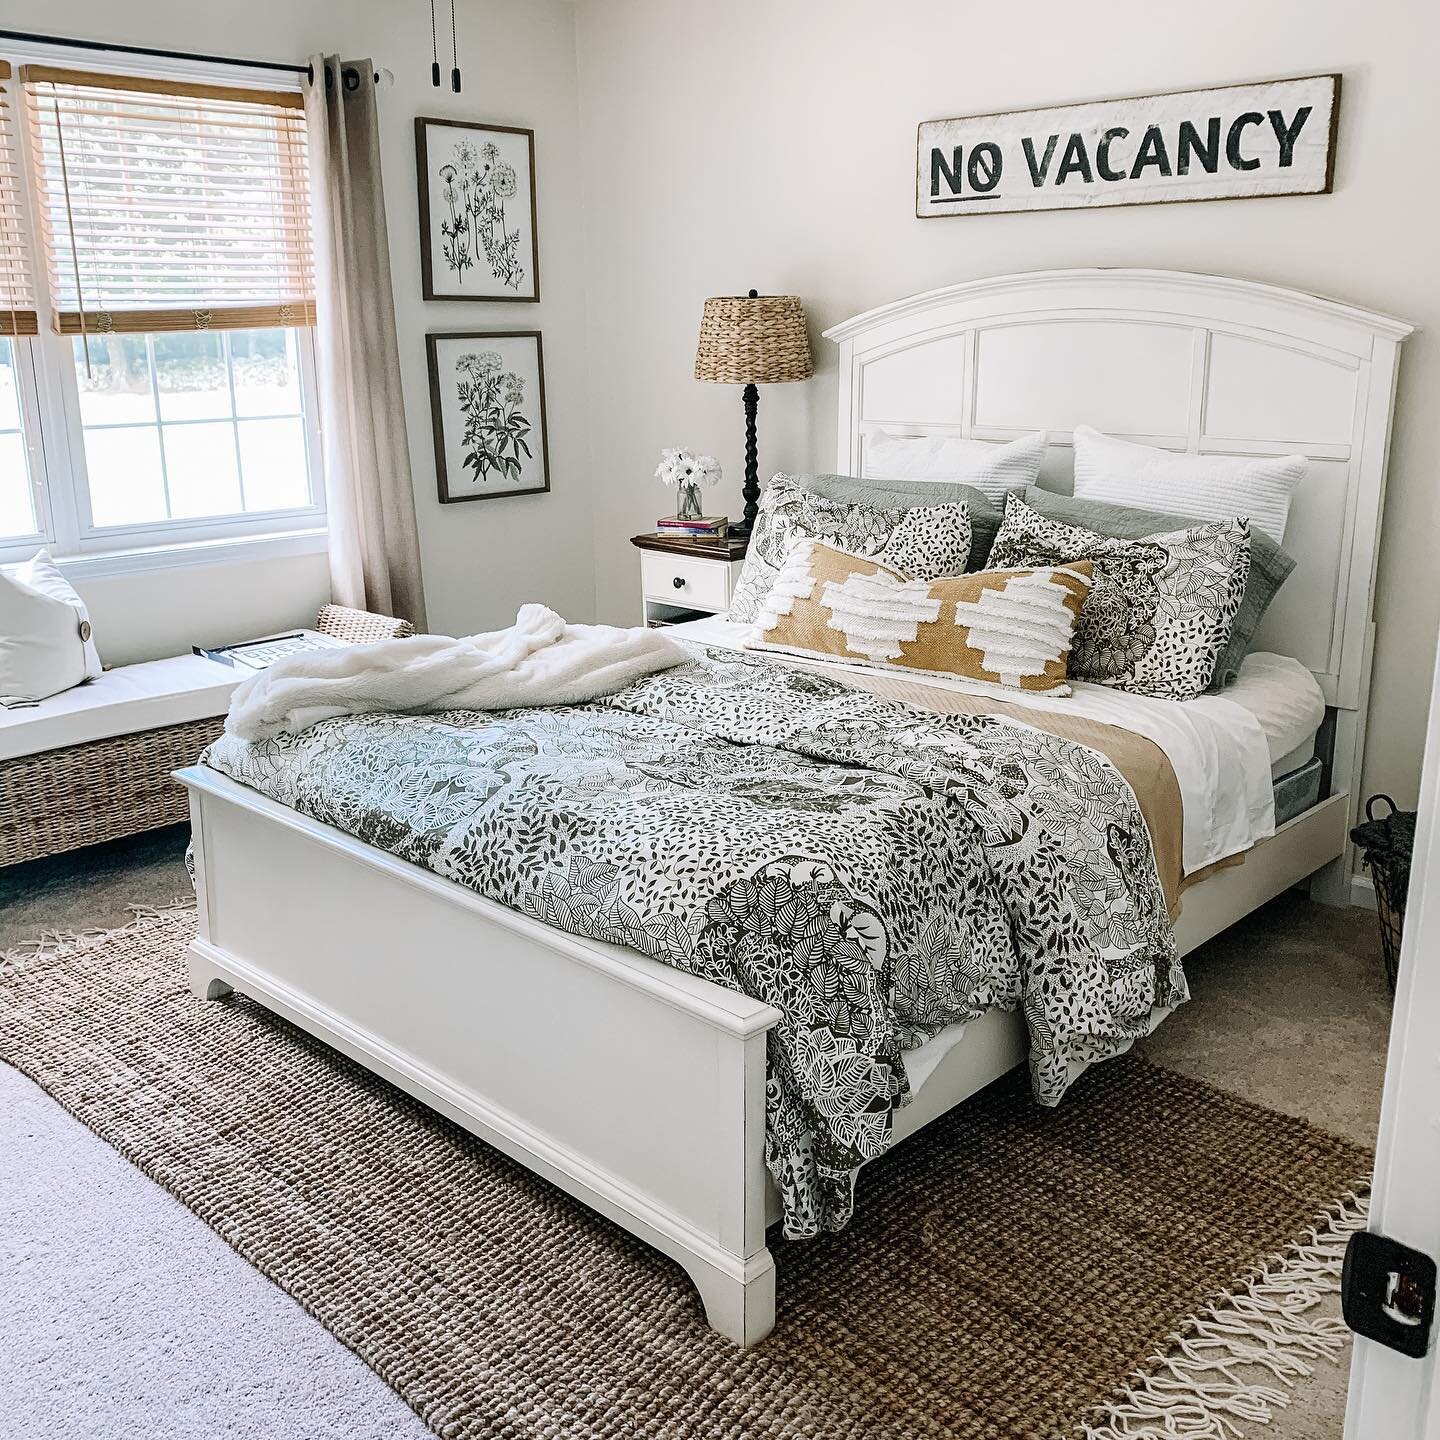
Hey Friends, I spend a lot of time putting together these posts, and I would love it if you’d show some love back and followed me on Instagram. **** 10/2020: Recently my instagram was erased and I lost all of my following, so I would SO appreciate it if you followed me by clicking on any of the pictures below from my current feed. Thank you so much!! <3