
Chalkboard Walls: How to Create a Chalkboard/Magnetic Wall
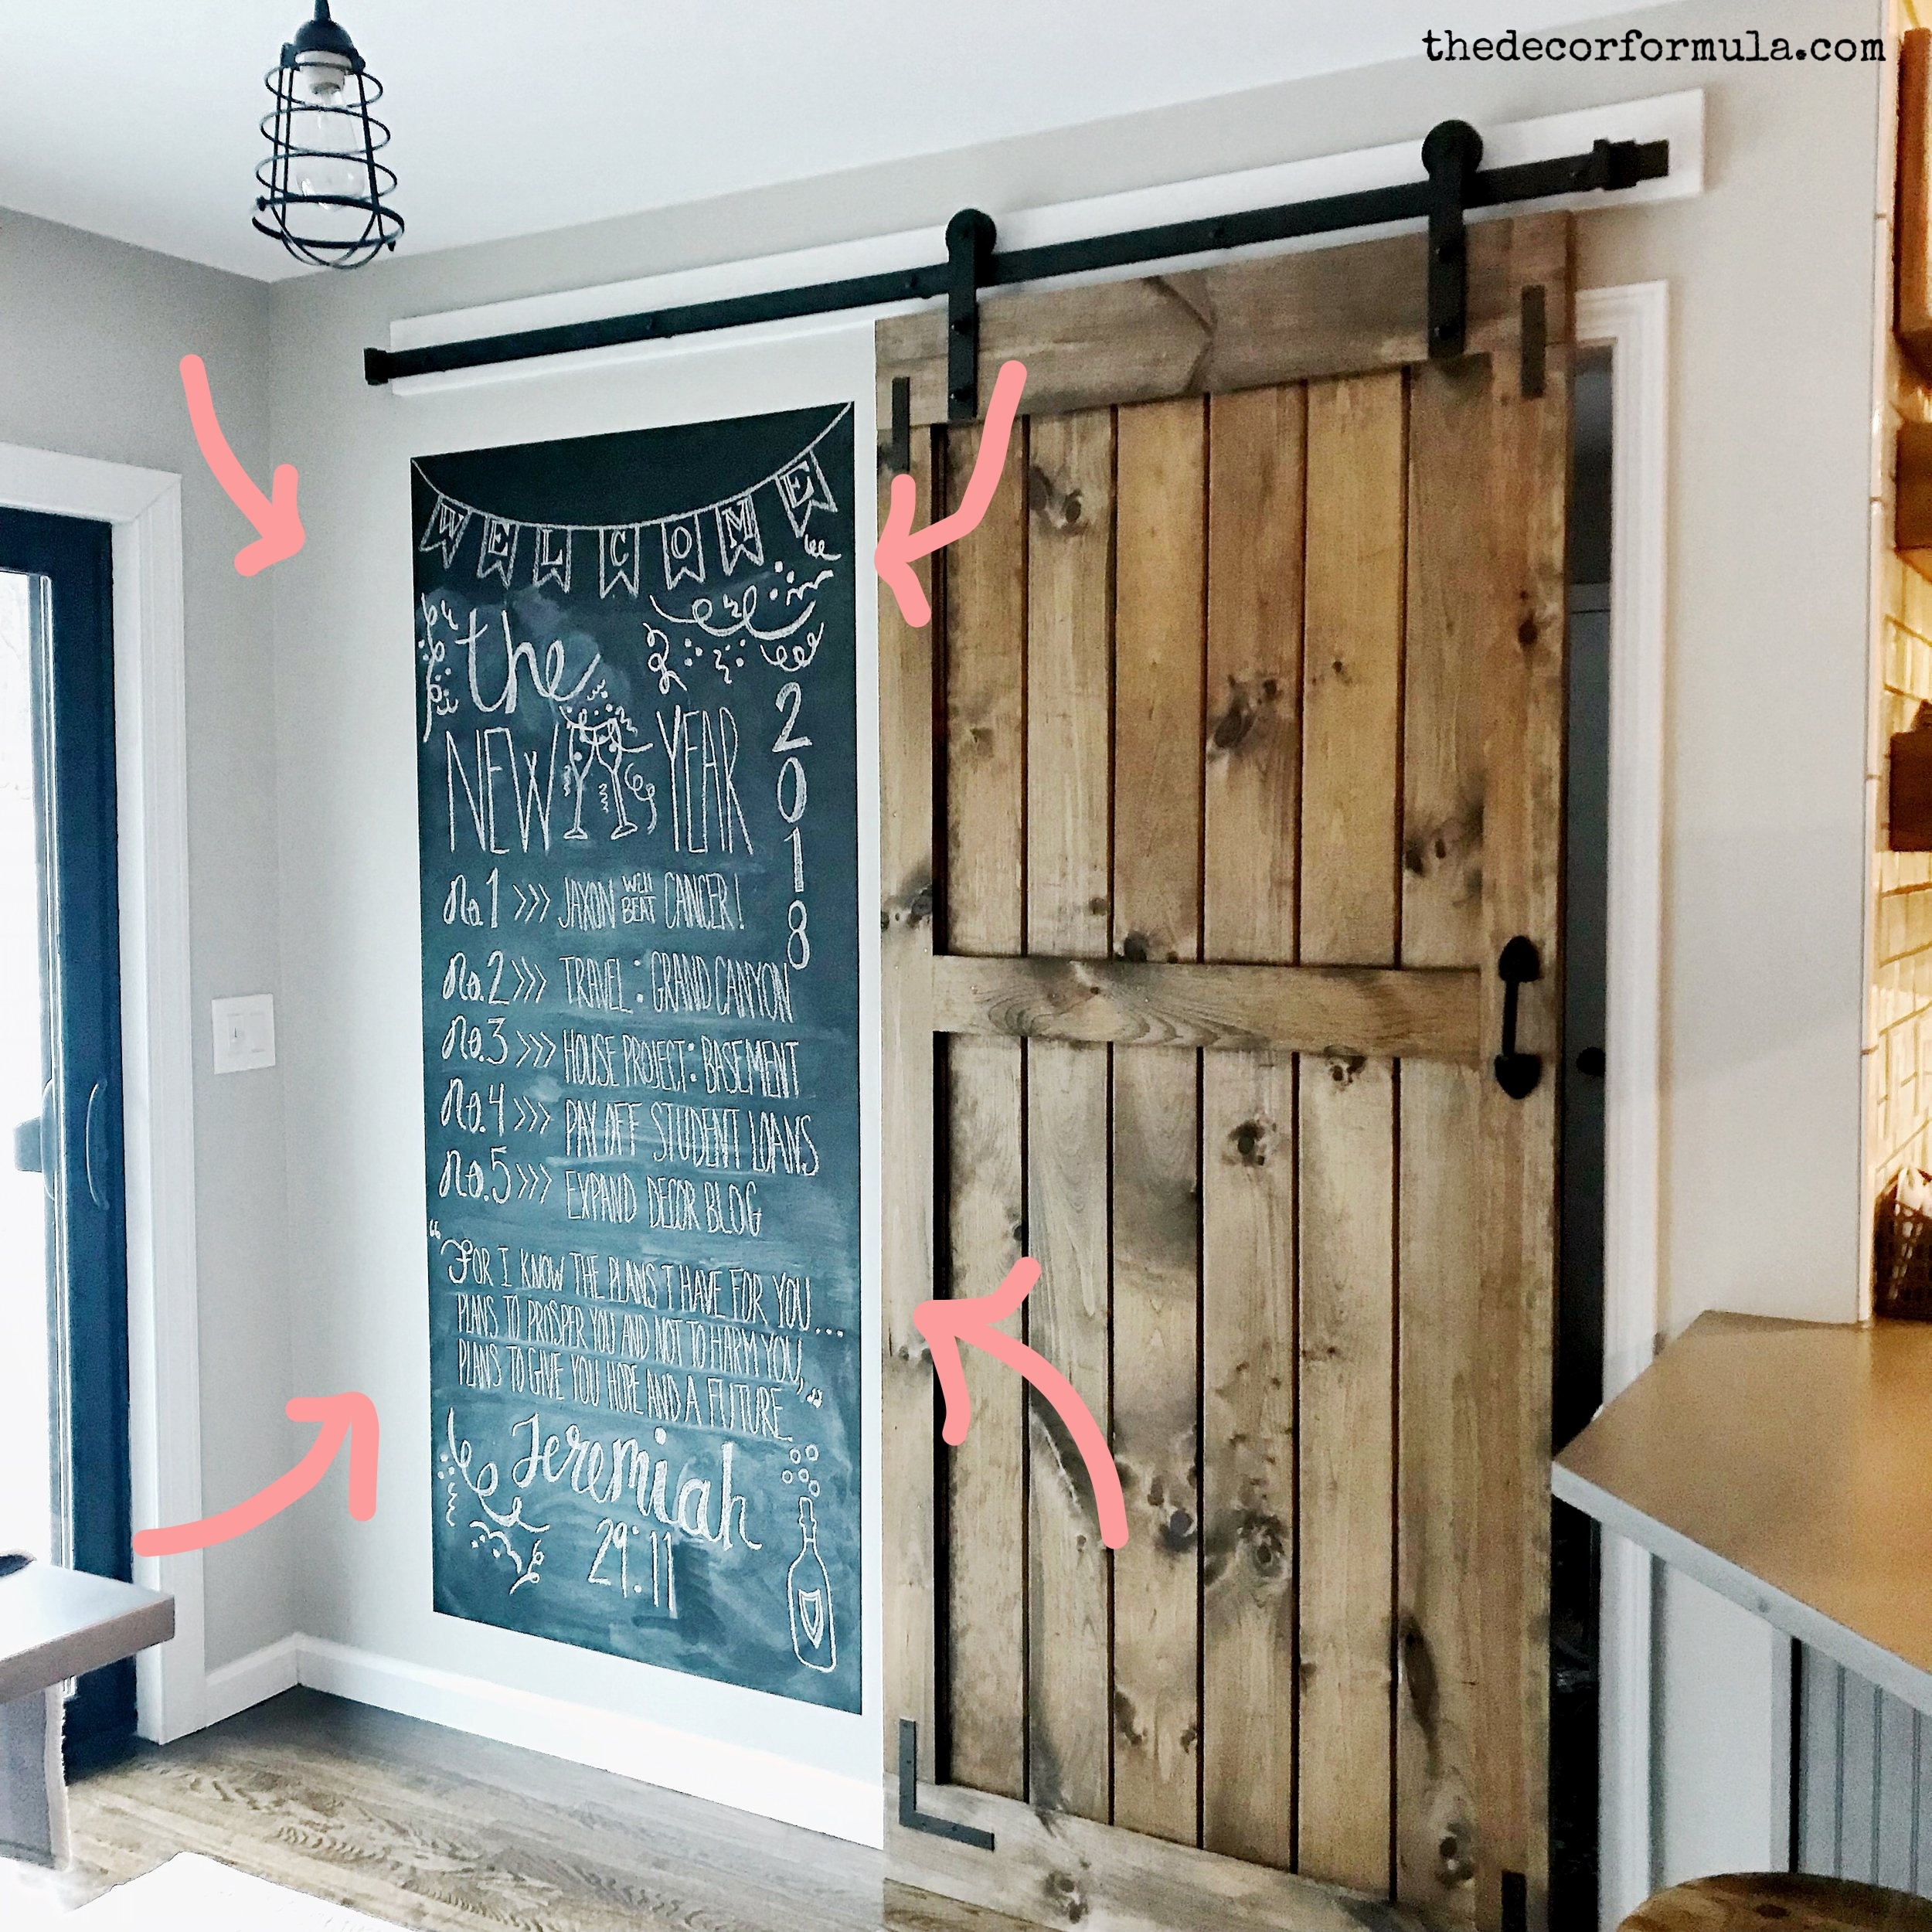
This post is dedicated to my friend Sean (Hi Sean!) - who requested to know the "down-low" (..or is it download? Or maybe I should find a different word completely...) on this chalkboard wall pictured behind my sliding barn door in our kitchen.
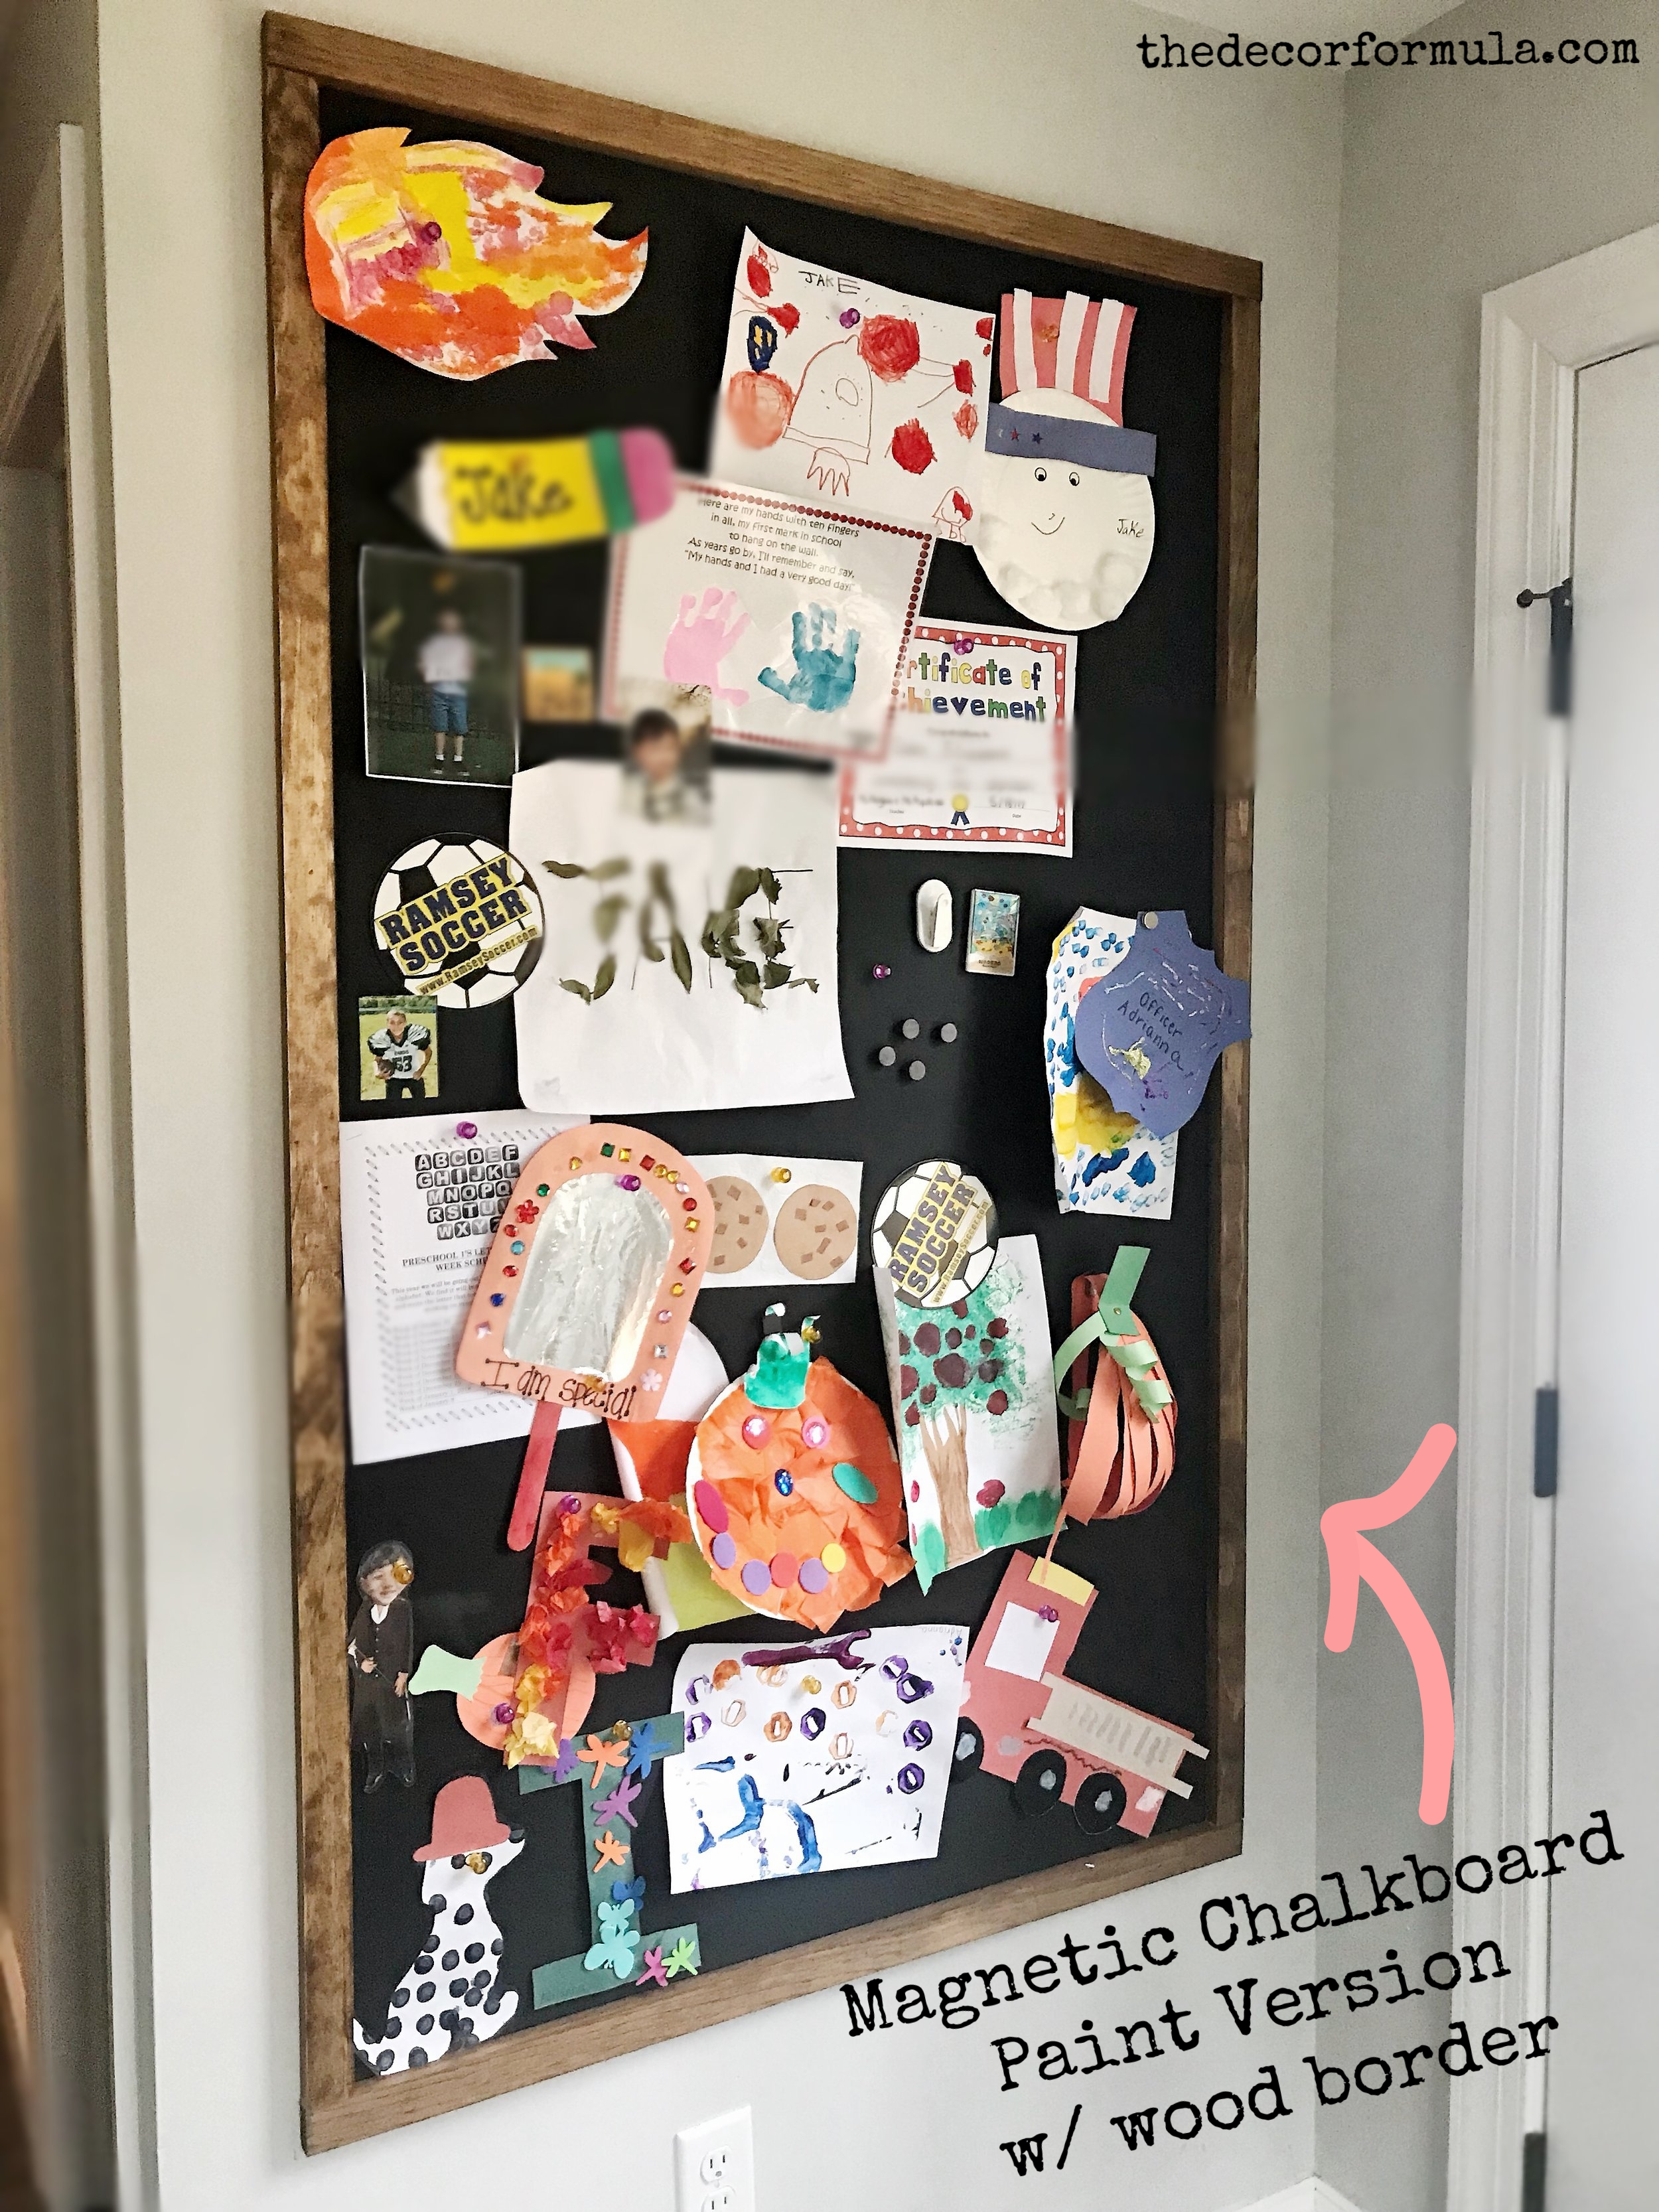
Chalkboard walls are a great way to add character and personalization to a space- especially if you want to add a chalkboard to a room but can't find one in a store that is the right size. Use it for: shopping lists, a calendar, birthday countdowns, countdowns in general, special messages, photo opportunities like your child's first day of school, or in a rec. space to keep score for games. If you have children- this area can double as a bulletin board to add artwork, awards, and pictures by using the magnetic version of chalkboard paint.
The greatest part is that it's relatively inexpensive to do and very easy to complete on your own even if you don't have the greatest DIY skills. I've completed two in houses that I've decorated and one in my own home- and it takes under an hour total to complete. (Note: Magnetic paint version takes a little longer to complete than regular paint.)
My decor formula for a chalkboard wall is:
Chalkboard paint + foam roller + painter's tape+ foam brush + tape measure+ level + yardstick + pencil + optional: 1x2x8ft boards for a border.
And by completing the steps below you can have the perfect (no touch-up) paint lines every time.
What type of paint should I buy?

Regular Non-Magnetic Chalkboard Wall: I used Rustoleum's 30 oz Chalkboard Paint in flat black available for $9.97 at Home Depot. (Click on picture for direct link) This paint was more than enough for my 3 x 6.5 foot wall. Applying three coats, I had about 1/4 of a can left over. You may need more if you are trying to cover a much bigger area.
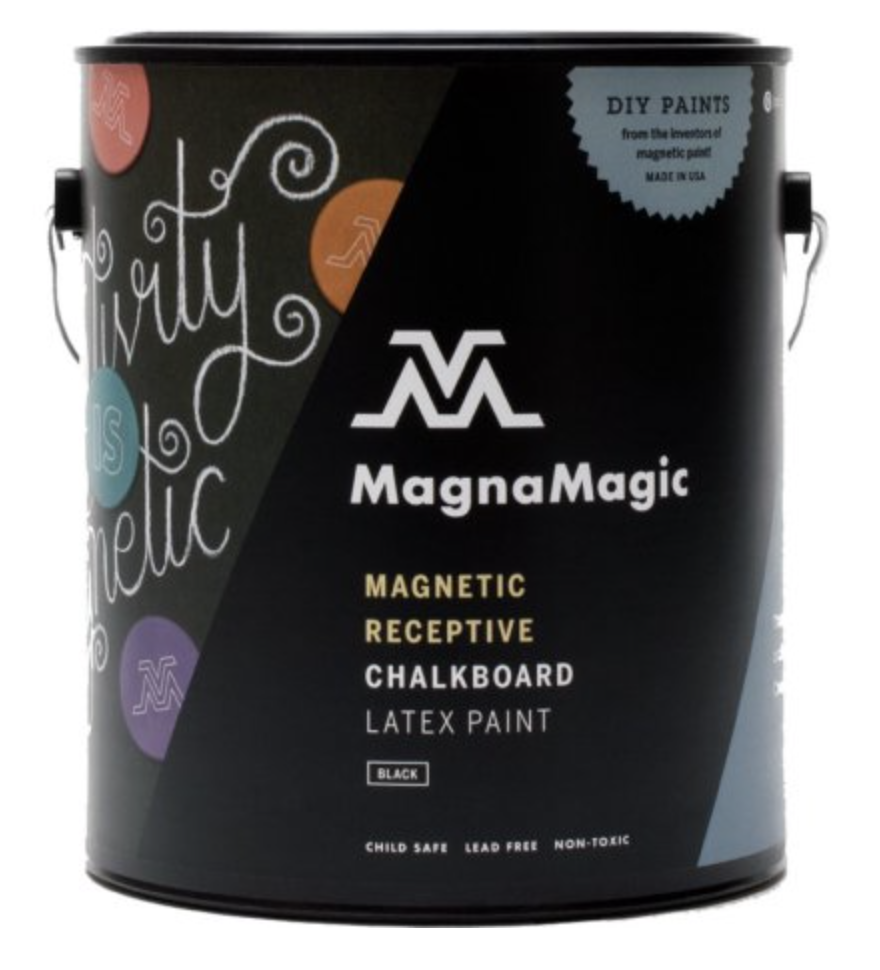
Magnetic Chalkboard/ Bulletin Board: I researched a lot of products and I was almost too quick to buy Rustoleum's magnetic version of this paint since I had such great success with their regular chalkboard wall paint on two different boards. DO NOT buy the magnetic version from Home Depot/ Amazon/ Walmart....or wherever. The reviews were absolutely horrible. Almost every reviewer stated that the paint did not work at all. So after doing some research I settled on the much more expensive ($36 plus shipping): MagnaMagic brand of paint available direct from their website, on Amazon or walmart.com. (Click on picture for direct link.) I read that more than 5 coats had to be applied to get enough magnetism to hold up papers with strong magnets. Since free shipping was not included and I worried that the smaller can would not be enough for this client's house- and we sprung for the more expensive gallon can. It was completely not necessary- we had just under 3/4's of the can left after I applied 10 coats to the wall. There's nothing worse than investing the time into painting a magnetic chalkboard wall only to find out it doesn't hold up magnets- so definitely spring for this brand, it works!
Directions:

Step 1: Using a tape measure, level, yardstick- measure out the area on the wall and draw a box lightly with a pencil. This is the most important step and using a longer level greatly helps to make sure your lines are straight. Take your painter's tape and line it up to the drawn box- press against the wall to make sure your tape is sealed against the wall.
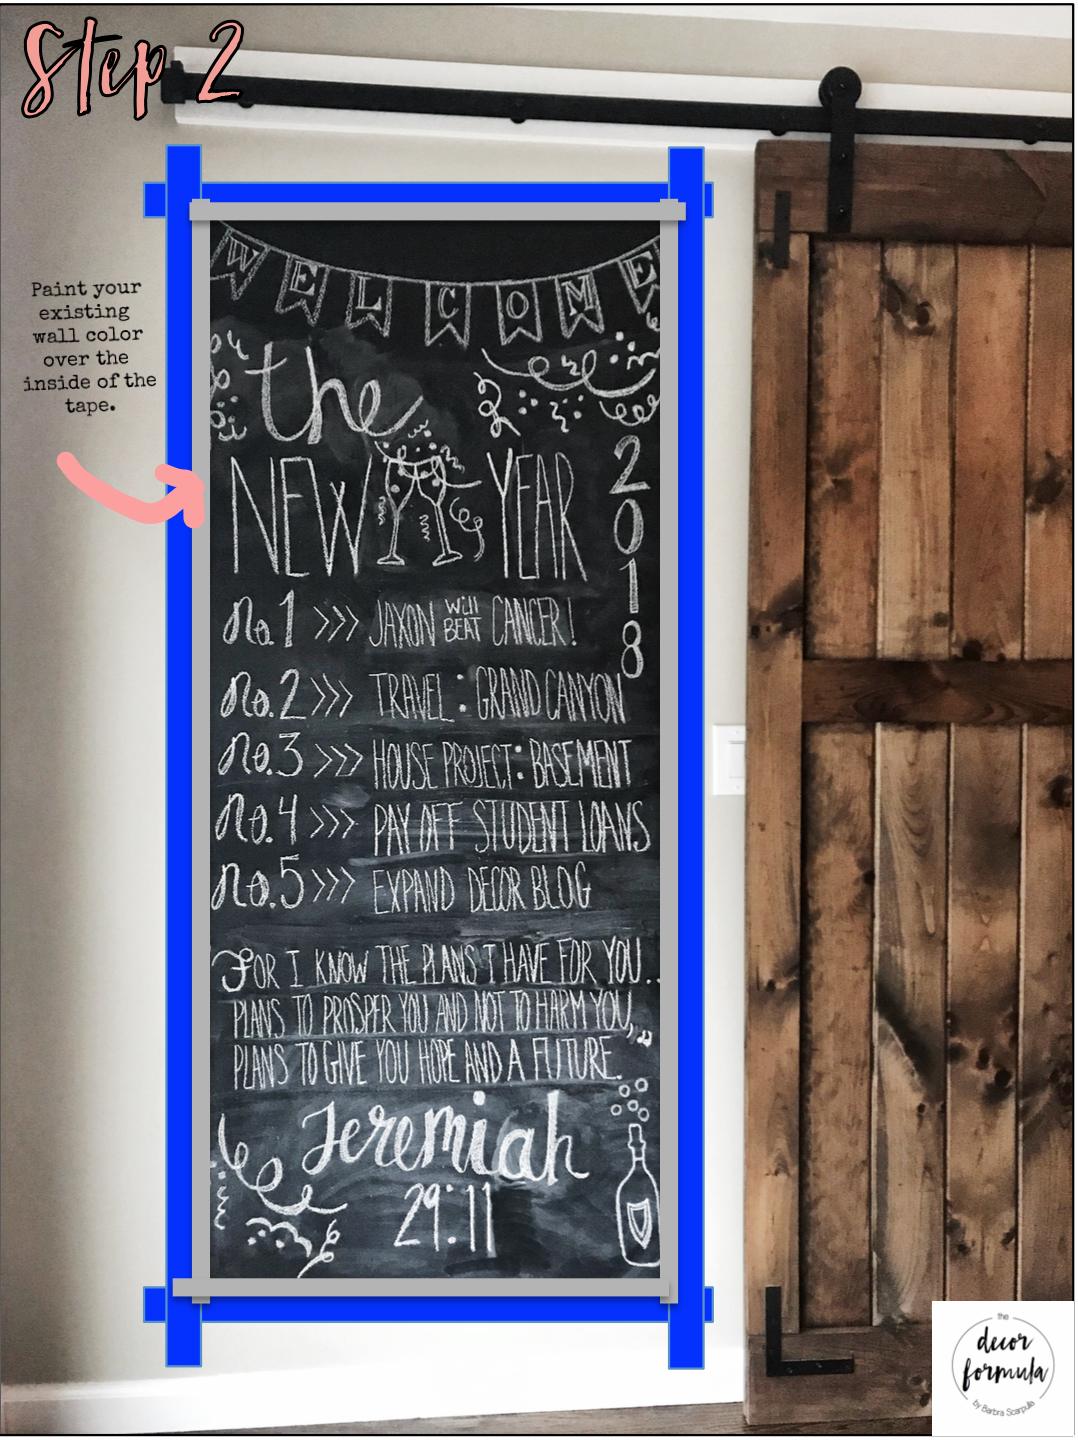
Step 2: Ever wonder how some people get the perfect no touch-up lines with painter's tape? The secret is to paint your existing wall color (in my case grey) on the inside of the painter's tape box where eventually your chalkboard paint will go. This color will then "bleed" through and act as a seal over the painter's tape for when you paint your chalkboard color over it. That way when you pull off your tape later on- there will be no need for any touch-ups. This tip can be used when painting stripes or designs on walls as well.

Step 3: After step 2 has dried and created a seal- take a small foam roller (I used a 4 inch roller) and apply your first coat of your chalkboard paint. *It's important to use a foam roller, because a fabric roller can and will leave little specs on your wall and you won't get the smooth finish you want.* How many coats should you do? At least 3 on a normal chalkboard paint wall and at least 5 on a magnetic chalkboard wall. * Please read tips on magnetic paint below before beginning project.* Your eyes might play tricks on you and you might think the paint is navy blue- but it dries black.
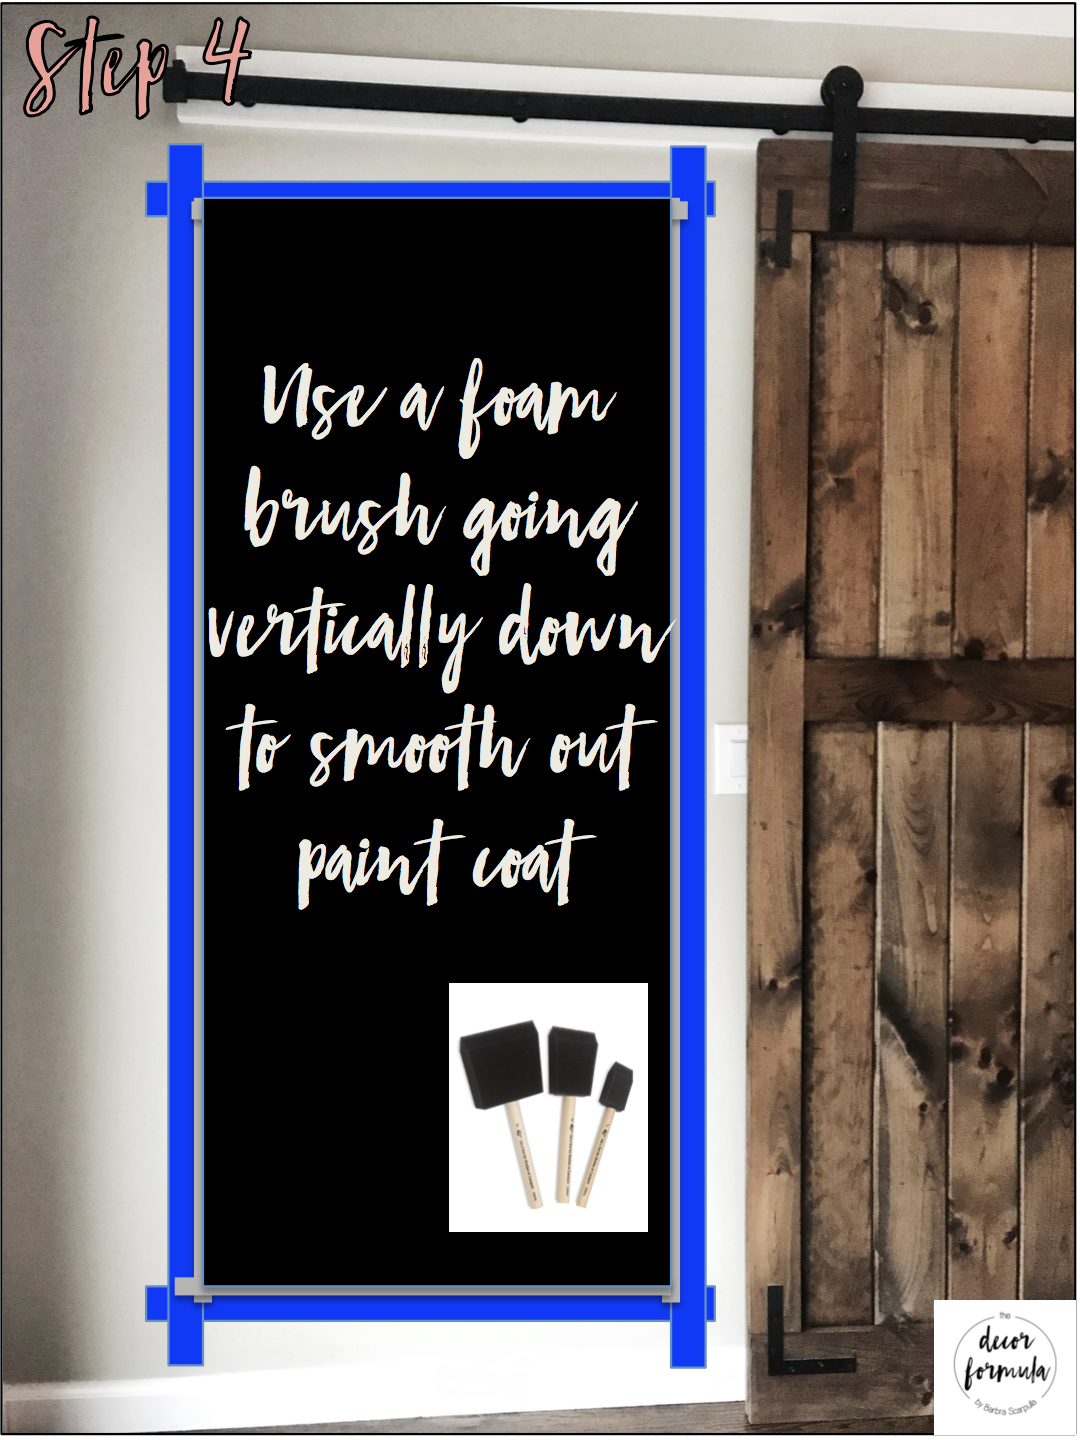
Step 4: After each coat you apply, take a foam brush and starting at the top- brush down vertically in one smooth stroke to smooth out any roughness in your paint.

Step 5: After your last coat has almost completely dried- pull off the painter's tape to reveal your chalkboard box/bulletin.

Step 6: *Optional*- if you want to create a border look to your wall you can pick up at (3) 1x2x8ft whitewood board from Home Depot ($13 in total) and stain it in your color of choice. Note: You may need more than 3 if your board is wider than 4 feet and longer then 8ft. Using liquid nail, put the glue on the back of the board before nailing it into your wall. This is to ensure that the board will stay to the wall if you are not nailing it into a stud. I didn't put a border on the chalkboard in my home because my sliding barn door would scrape against it. However- a wood border looks great around it and will hide any imperfect lines from painting.

And viola... you have yourself a chalkboard paint wall!
Tips on using MagnaMagic Paint:
1) Stir extremely well and often... and by extremely well- I mean for at least 5 minutes. Because this is a magnetic paint a lot of the magnetic flakes sink to the bottom of this can. If you don't mix it well enough, your chalkboard won't end up being magnetic. Stirring this can of paint feels like you're stirring molasses because it's so thick.
2) Work fast with the foam brush as you paint the paint on with a roller. This paint dries pretty quickly and is pretty thick to work with. Make sure you do the foam brush technique from step 4 to smooth out the paint right as you roll on the paint. This is especially true if you are covering a large surface area. By the time you are done with the first coat the top of the board will be too dry to smooth it over with the foam brush.
3) Do as many coats of the MagnaMagic paint as you can stand. The can recommends at least 5, I quit at 10 coats on the board pictured above- because I wanted to be sure that magnets would stick to it.
4) Buy rare-earth magnets to hold papers on this chalkboard. They sell these heavy duty magnets at Home Depot and on Amazon. Regular refrigerator magnets will not work.
5) For the magnetic chalkboard- make sure you take off the painter's tape after your last coat before it dries completely. Otherwise the tape can rip off some of the layers of paint at the edge- since it's so thick from so many coats.
If you're wondering how long I waited until I wrote on it with chalk- the answer is 24 hours.
After 24 hours, I took a piece of chalk, turned it on it's side and shaded over the chalkboard before writing on it for the first time.
If you're wondering what I do to erase it...
normally I use a lightly damp rag.
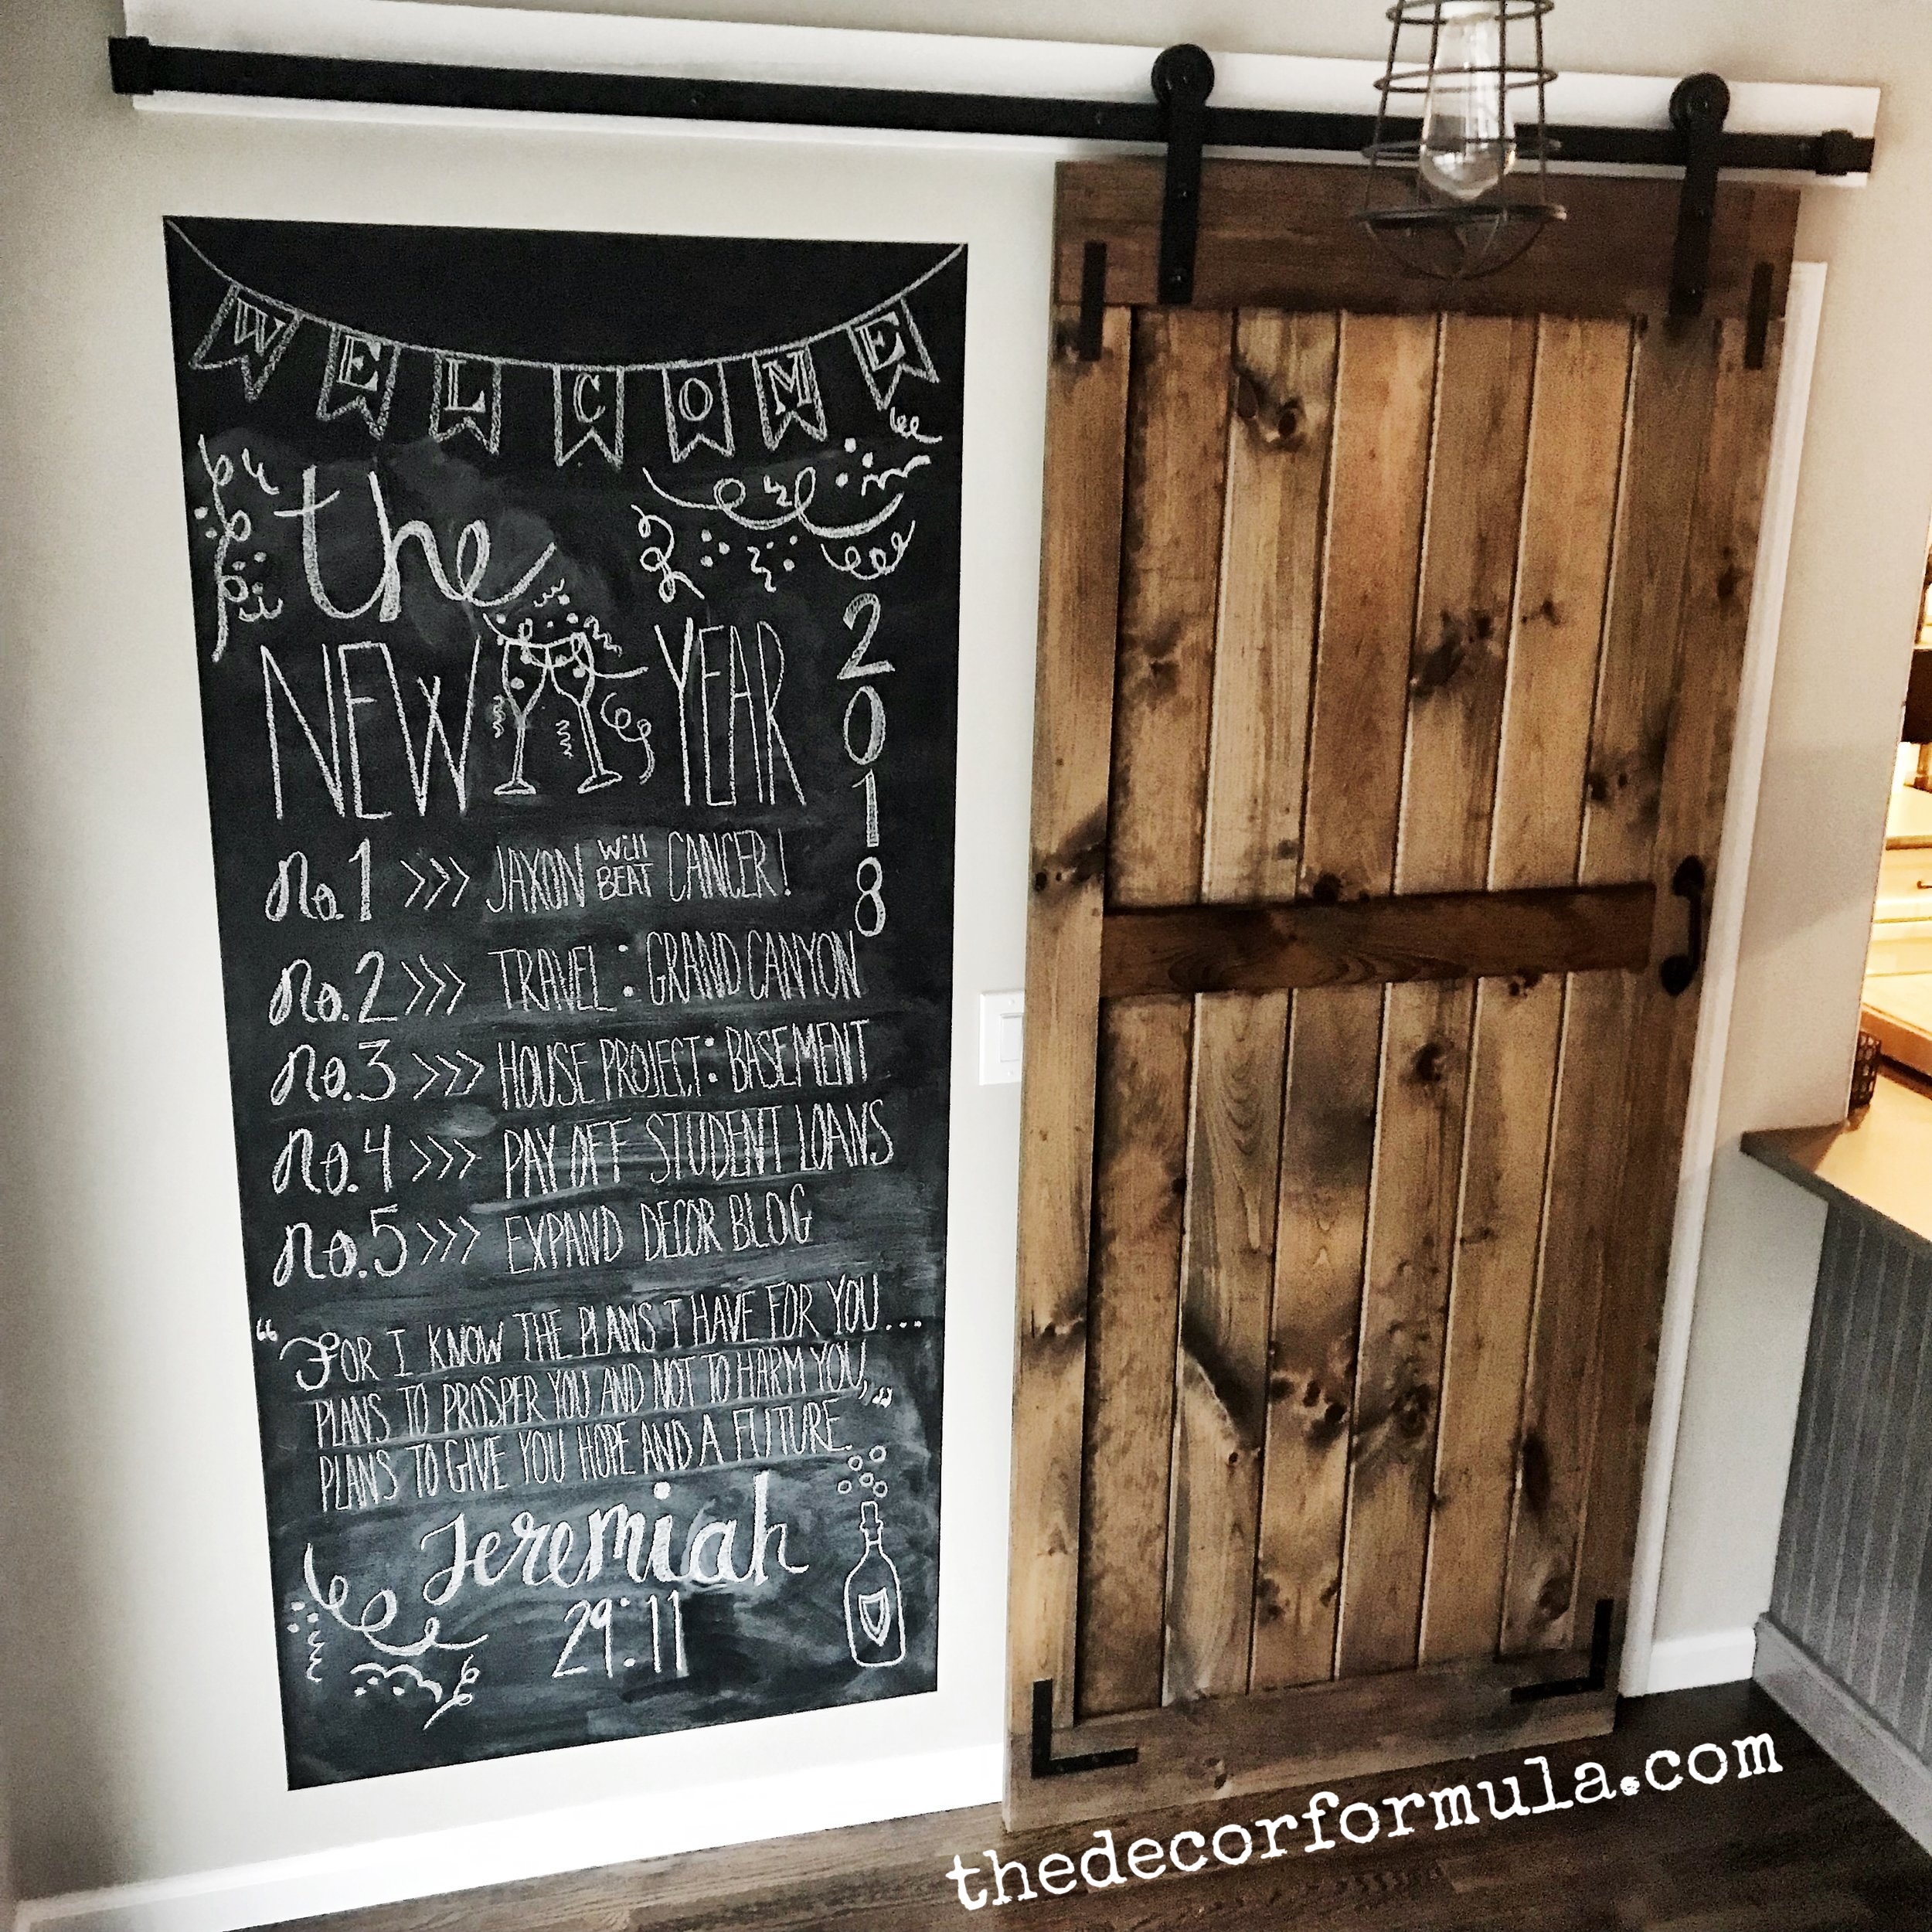
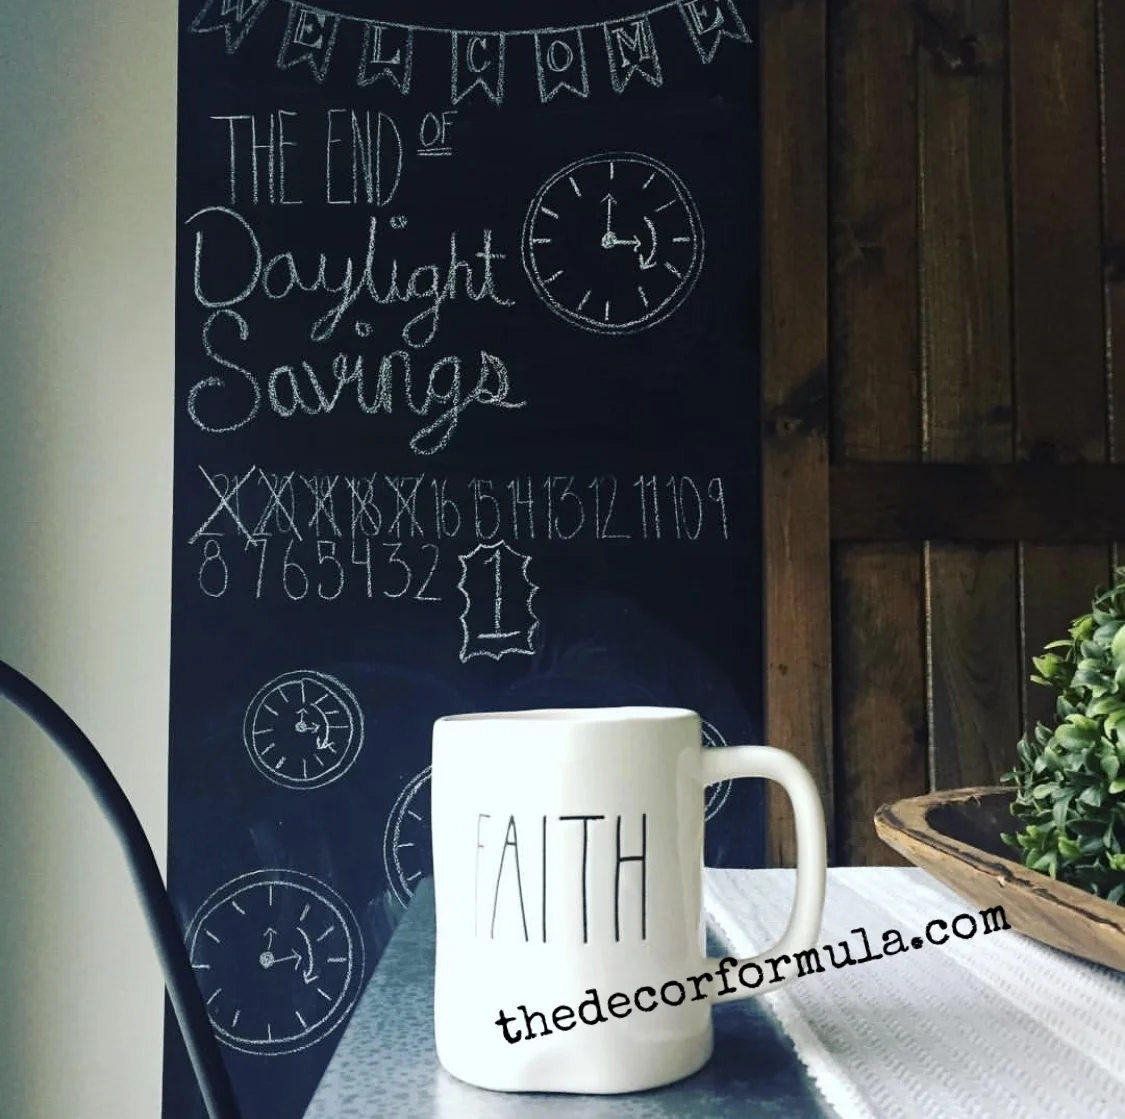
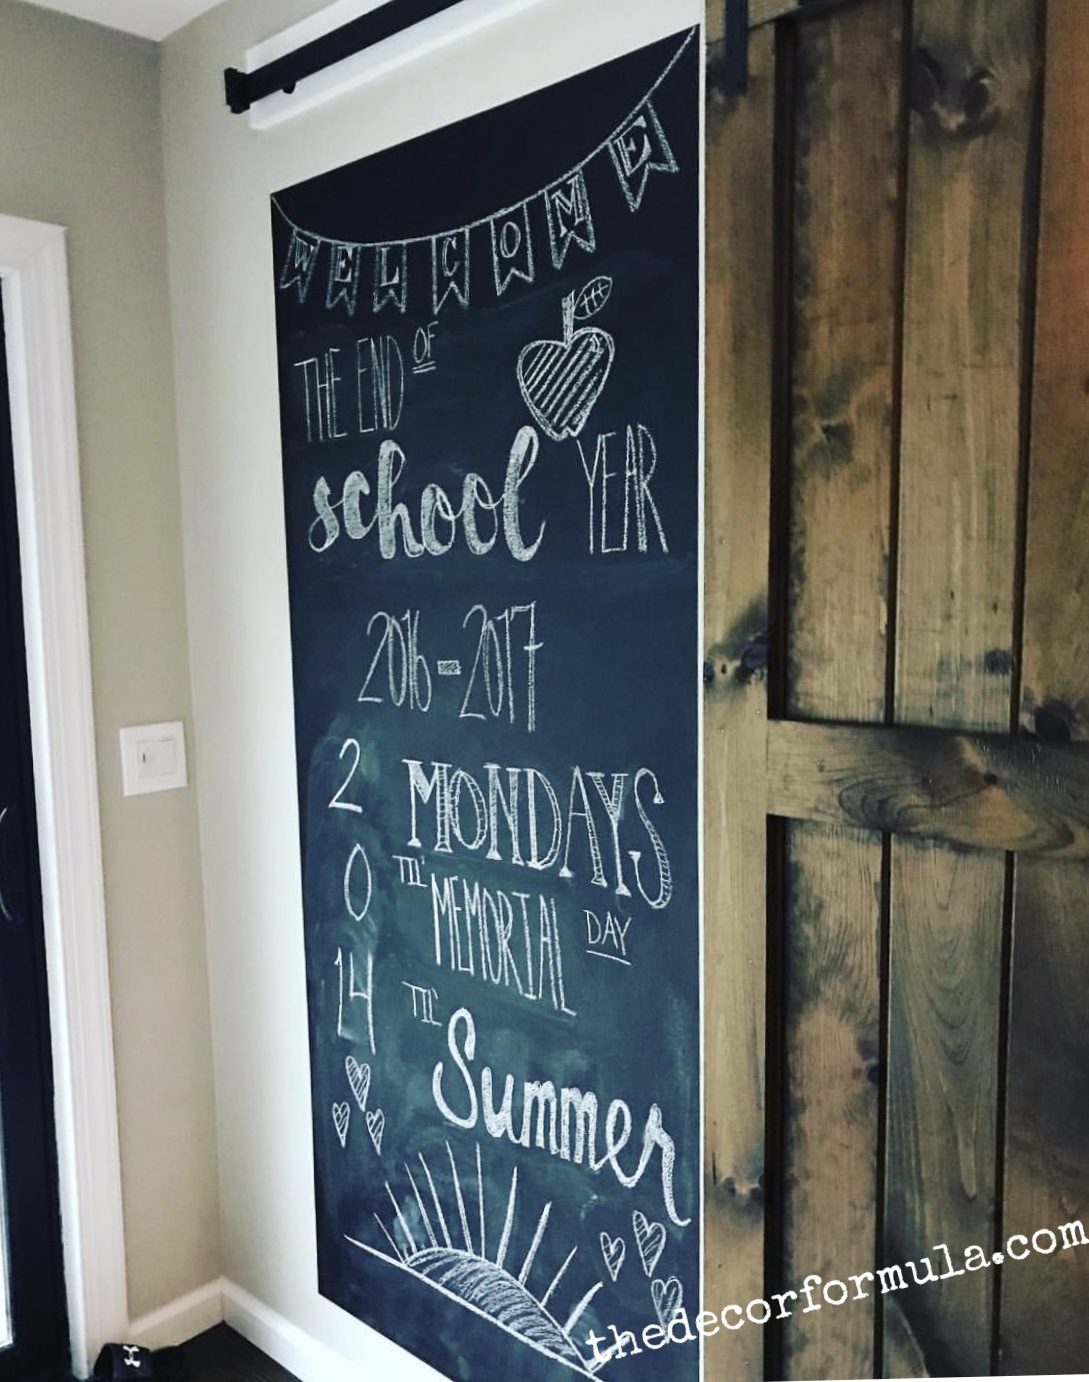
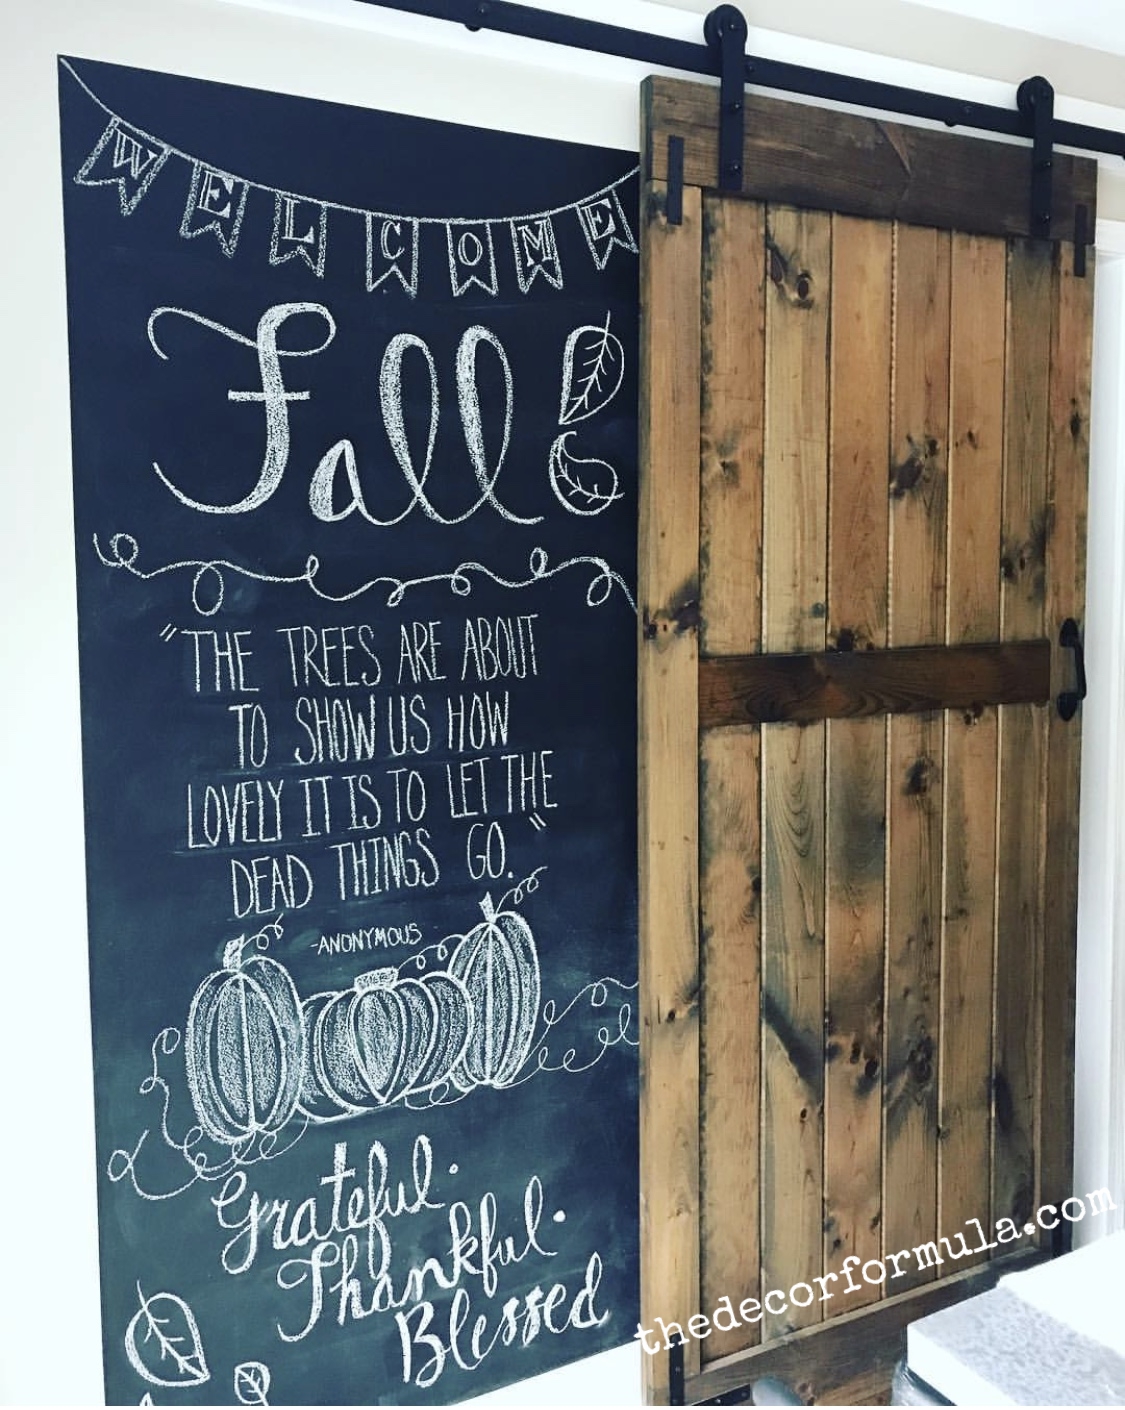
And lastly if you're wondering how often I change this chalkboard, the answer is 4 times a year.
Since my board is behind my sliding barn door, it's not in everyone's view all the time- so I don't have to change it that often. So I do 4 different boards: I create a board for the New Year with goals for the year (I don't do Christmas, it takes too much effort to do a pretty chalkboard when the space between Thanksgiving and Christmas is so short). In February I change it to a countdown to daylight savings because setting my clock ahead is my favorite day of the year. After daylight savings is over, I then begin my countdown to the end of the school year. (This stays up until October.. because October is the month that I come out of denial that summer is actually over and we are back to work.) And finally I do a chalkboard for fall.
Thanks for reading this! If you enjoyed it or have any questions, feel free to comment below.
:) Barbra
Hey Friends, I spend a lot of time putting together these posts, and I would love it if you’d show some love back and followed me on Instagram. Click on any of the pictures below from my current feed, and follow me! Thank you so much!! <3