
DIY Wall Sconces: How to make a frugal industrial-ish wall sconce
Every room in our house has an overwhelming and excessive amount of recessed lights. And when I say excessive- I mean if I look up from my desk as I sit here typing to you, you would think that a UFO was about to land in my office.

ET phone home...
There's 10 in the office, 8 in the bedroom, 5 in the closet, 11 in the kitchen... the list goes on. The only room that has 0 lighting whatsoever happens to be our front sitting room. (Why couldn't they take one off each room and put it this room??)
So I was left with the issue of figuring out how to bring more lighting into the front room for the nighttime without having to walk in and manually turn on a bunch of lamps. Luckily the top part of all of our sitting room outlets are connected to a light switch on the wall when you walk in. When we first moved in I had one floor lamp, my favorite floor lamp everrr, but unfortunately it didn't give off much light... its just way too gorgeous to replace. Table lamps wouldn't do the trick either, because I don't have side tables in this room. So I settled on a great alternative- wall sconces.

I scoured the internet and found some awesome "industrial" looking wall sconces that had a cord to connect to outlets, and wall sconces are a great option for those of you who only have outlets to work with. They're not only an awesome design alternative to bedside table lamps, but you can use them next to couches and sofas as well. The only problem was they were upwards of $250-$400 for two- and I just couldn't bring myself to pay that.
So I came up with a cheap DIY alternative, and almost everything included in this formula- I already had, with the exception of the light cords. All together everything totaled less than $30 for two light sconces and took less than 20 minutes to make.

(Side Note: I'm not a fan of brown couches- this was a "Pre-Barbra Purchase" made by Shad from Crate & Barrel, and when I came upon the receipt right before moving- I discovered we would have to keep it for 30+ years to get the value out of it for as much as Shad spent on it... so it will forever be in any house we own : P )
My formula for a "frugal" industrialish-looking wall sconce is:
(1) 2x3 Stud, Edison Bulb, Light Cord, and some Stain to finish.
Supply List: (Click the pink buttons for where I purchased things)
(1) 2 x 3 x 96 inch (which is a standard size) stud from Home Depot= $2.29: one will be enough for both sconces, with some left over in case you screw up any cuts. Make sure the wood is as straight as possible. (See my previous post on How to Build a Barn Door, if you don't know how to tell if wood is bent.)
2 Edison Light Bulbs, do yourself a favor and order a 6-pack off amazon for $19.99 total. HD and Lowes sells these bulbs for $10 a pop. I had two bulbs left over from a 6-pack I bought for a light fixture in my laundry room. That brings it to whopping $3.33 a bulb.
2 Fabric Light Cords, I bought mine in Chevron black + white, but they sell them in other places all over the internet in a wide arrange of colors, fabrics, and prints. I picked this color because I wanted it to stand out subtly and not just look like a plastic black light cord hanging around a piece of wood. I found them the cheapest on Amazon, a set of 2 are just $17.99.
Finishing/Tool List:
A Miter Saw: to make cuts.
A small can of Minwax stain in your preferred color and a small foam brush or old t-shirt to stain. I had bought a big can of dark walnut stain forever ago- and it's literally what I've used for every project (Barn door, walls, shelves, etc.) A small amount goes a long way. For example- a half a gallon can was used on all of the hardwood floors in our entire house.
Drill+ Screws for assembly+ hanging it on the wall. (Use dry wall anchors+screws if you aren't drilling this directly into a stud. )
Cuts & Directions

Directions for two sconces:
1. Cut (2) 14 inch pieces and (4) 12 inch pieces.
2. Put (1) 12 inch piece up against (1) 14 inch piece like pictured above. Make sure to leave space at the top of about an inch to an inch and a half. You need this space to screw the sconce into the wall later on. Take one 2 inch screw and screw the 14 inch piece into the 12 inch piece from the back. Repeat for the second sconce.
3. Take your remaining (2) 12 inch pieces, measure the angle and cut. (I had help with this step from my tech-teacher friend Wilson. He taught me how to measure and cut angles. Thanks Wilson!! <3) Place a screw diagonal as shown with the X's in the photo above, to secure this piece to the bracket. (PS- if you're a teacher, make friends with the UA department- they're amazing- they have great tools to borrow, they hem curtains and table runners, you can cook a meal in the Home Ec. classroom when you forget to bring your lunch to work, and they're even willing to sew the crotch of your pants when it completely tears during the school day- while you stand in the bathroom pantless... love my UA people!!! <3)
4. Lightly sand down the edges, and then stain the sconce. It's extremely easy to stain, don't think you can't do it. ANYONE can stain. Wipe the stain on with a foam brush or an old t-shirt. Let it sit for 2 minutes, then wipe it off with an old t-shirt. One coat should be fine.
5. Let the sconce dry a few hours to overnight ( I always get so eager so finish things that on small projects I only wait a couple of hours for stain to dry). Screw the sconce into the wall in the space provided above and below the "triangle-hole" that's pictured above.
6. Tie a very very loose knot at the end of the fabric cord like shown in the picture below. Put the cord up and around the triangle space in between the sconce, and then loop the loose knot around the end of the sconce.

7. Screw in your light bulb, plug in to the wall, and you're good to go. :)

Didn't spend enough and want to make it look fancier? Consider the following additions or changes:
1. Consider adding a light cage around your light bulb.
Here are some of my favorites: Click on them for direct links to Amazon


2. Change out the cord. There's many options available on the internet- including ones that take on more of the "rustic" look by resembling rope...they can get pricey though.


3. Stay with the Edison bulb for the "look" but change the style light bulb. These round ones would look pretty cool:


4. Try adding a pulley to the end of your sconce for a more rustic look- and snake the light cord through the pulley.

If you enjoyed reading my post and if it gave you some ideas, please comment below!
Thanks for reading! - Barbra
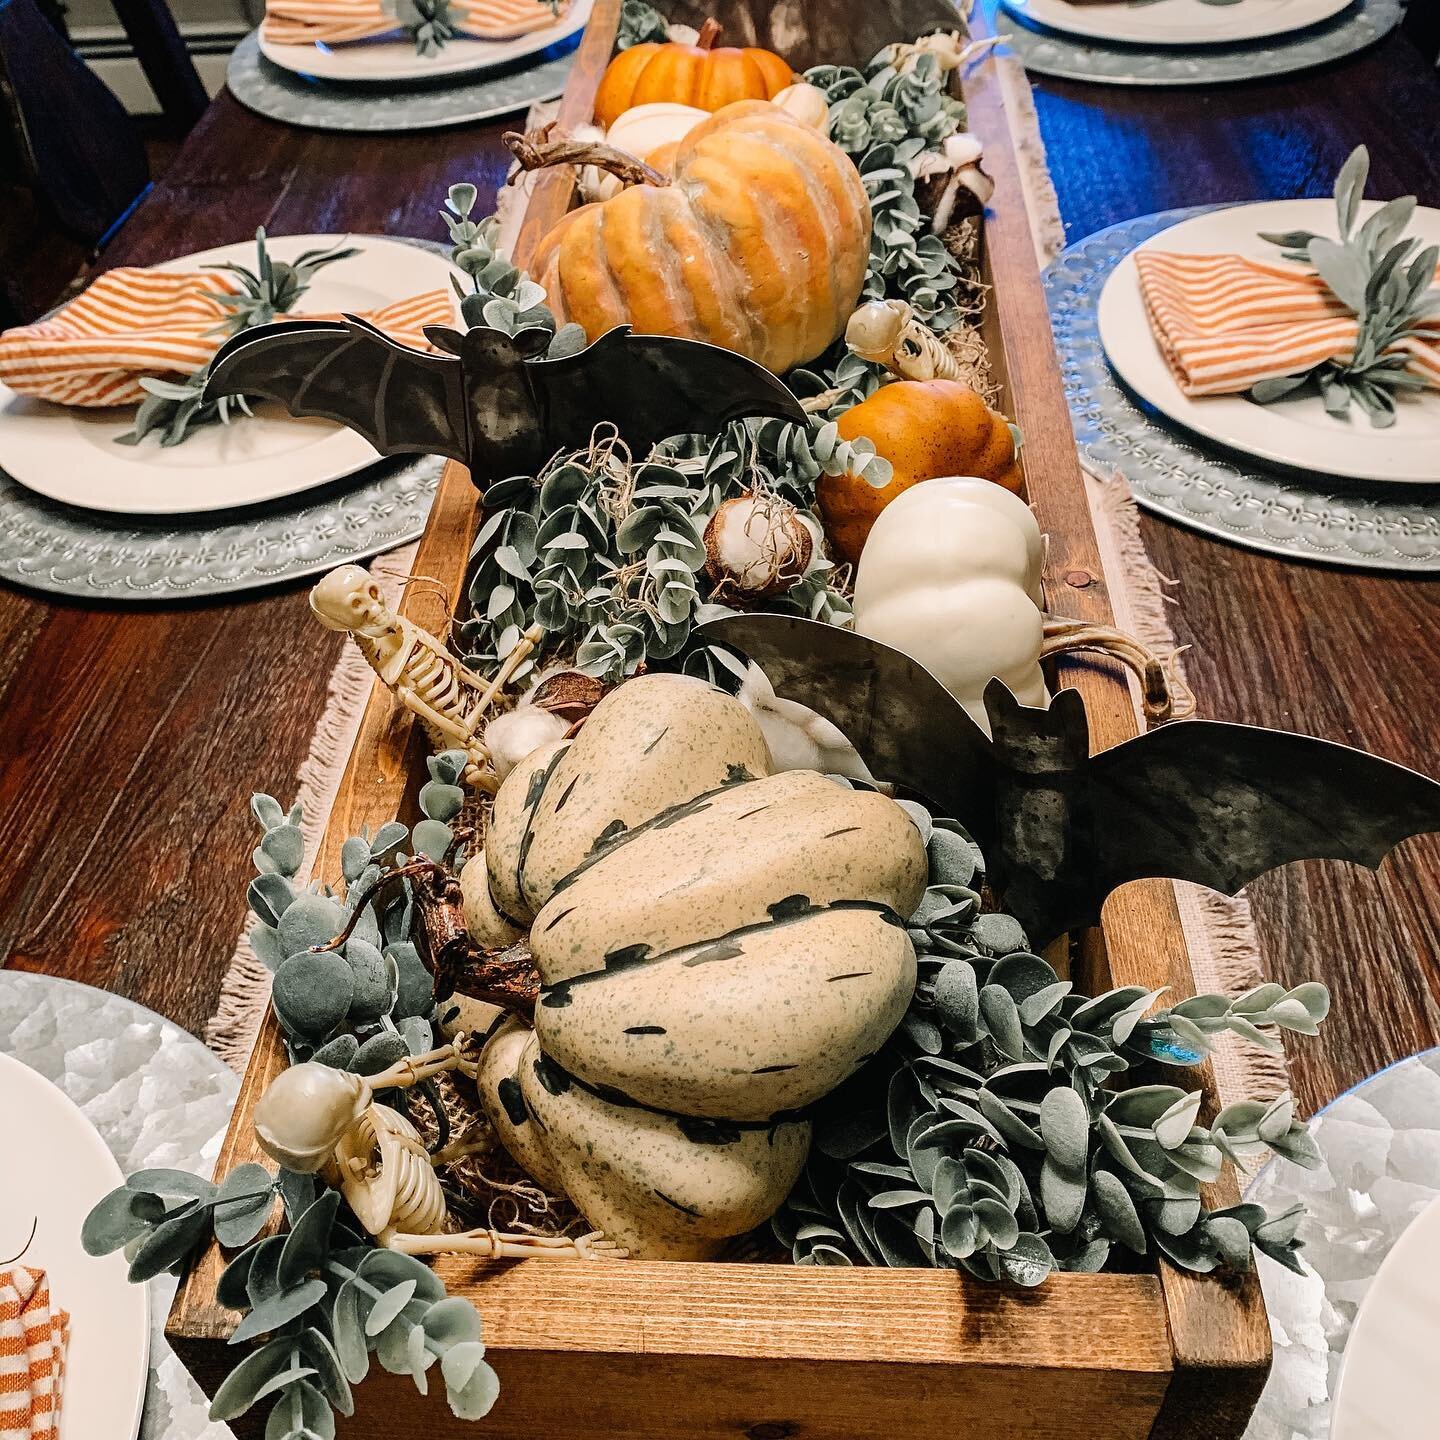
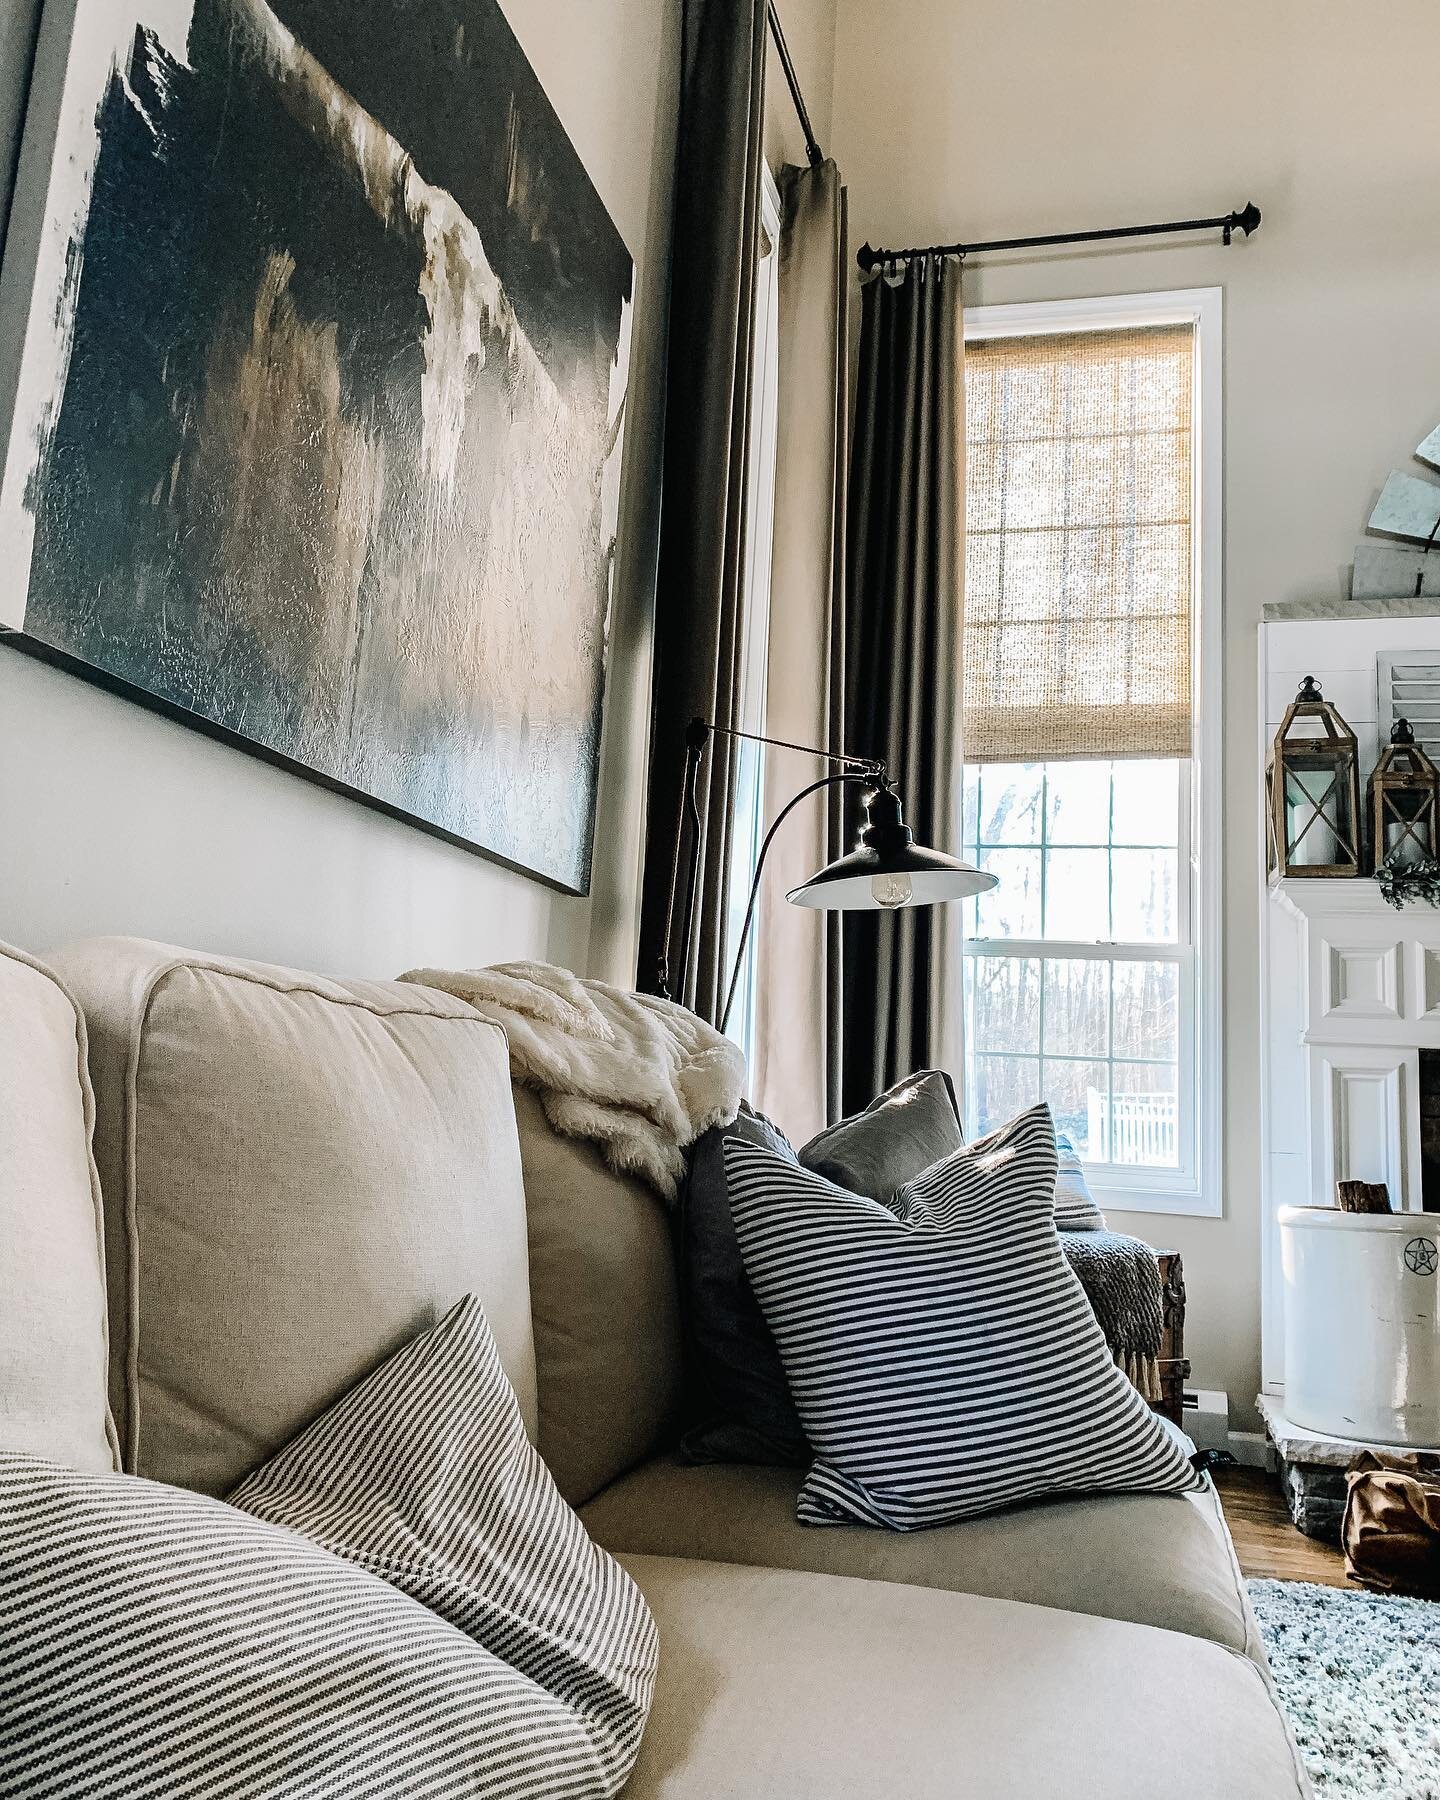
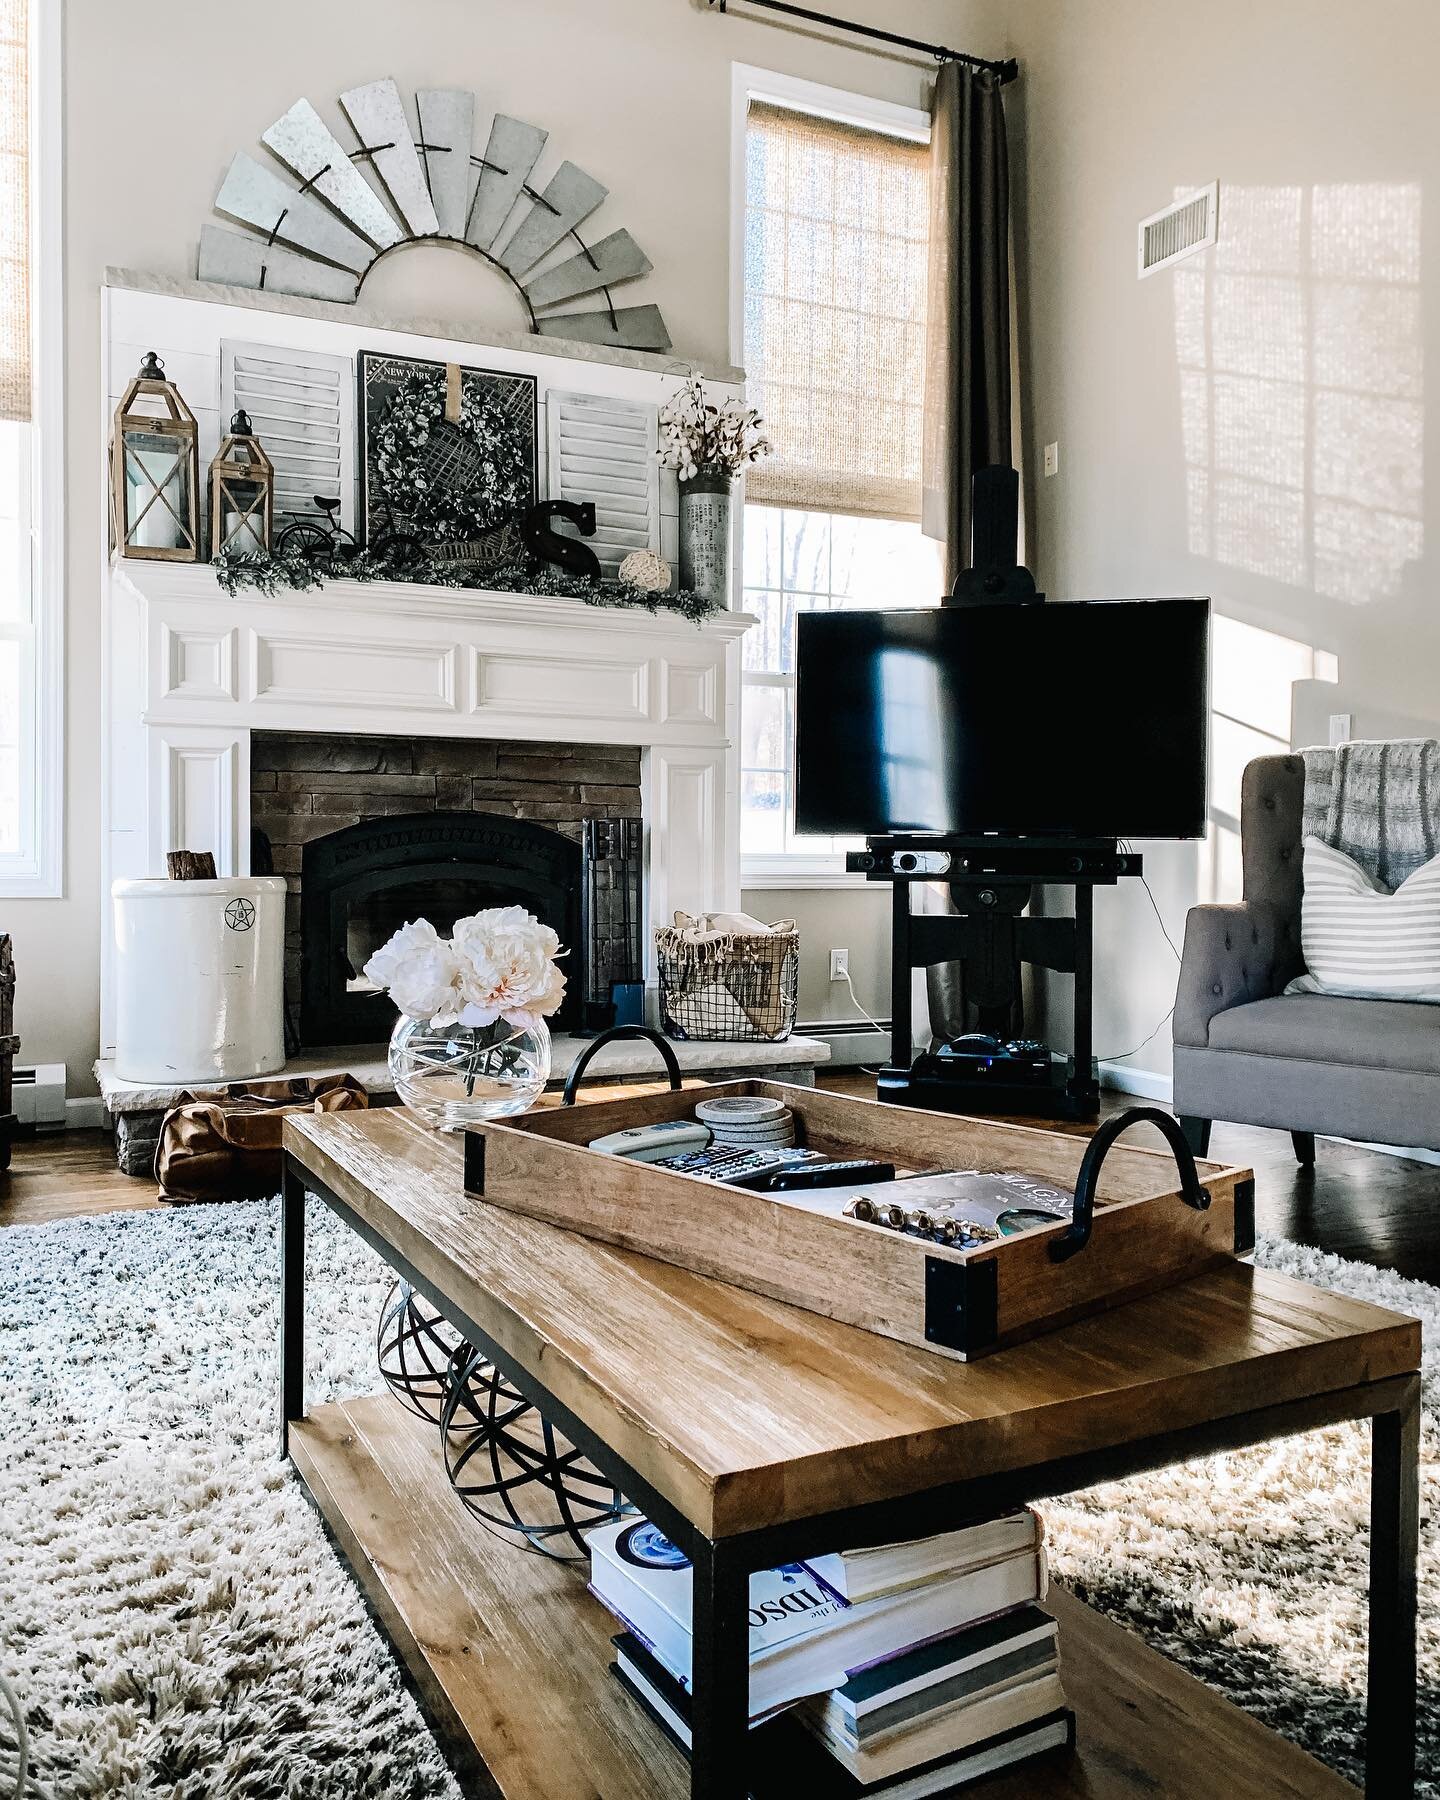
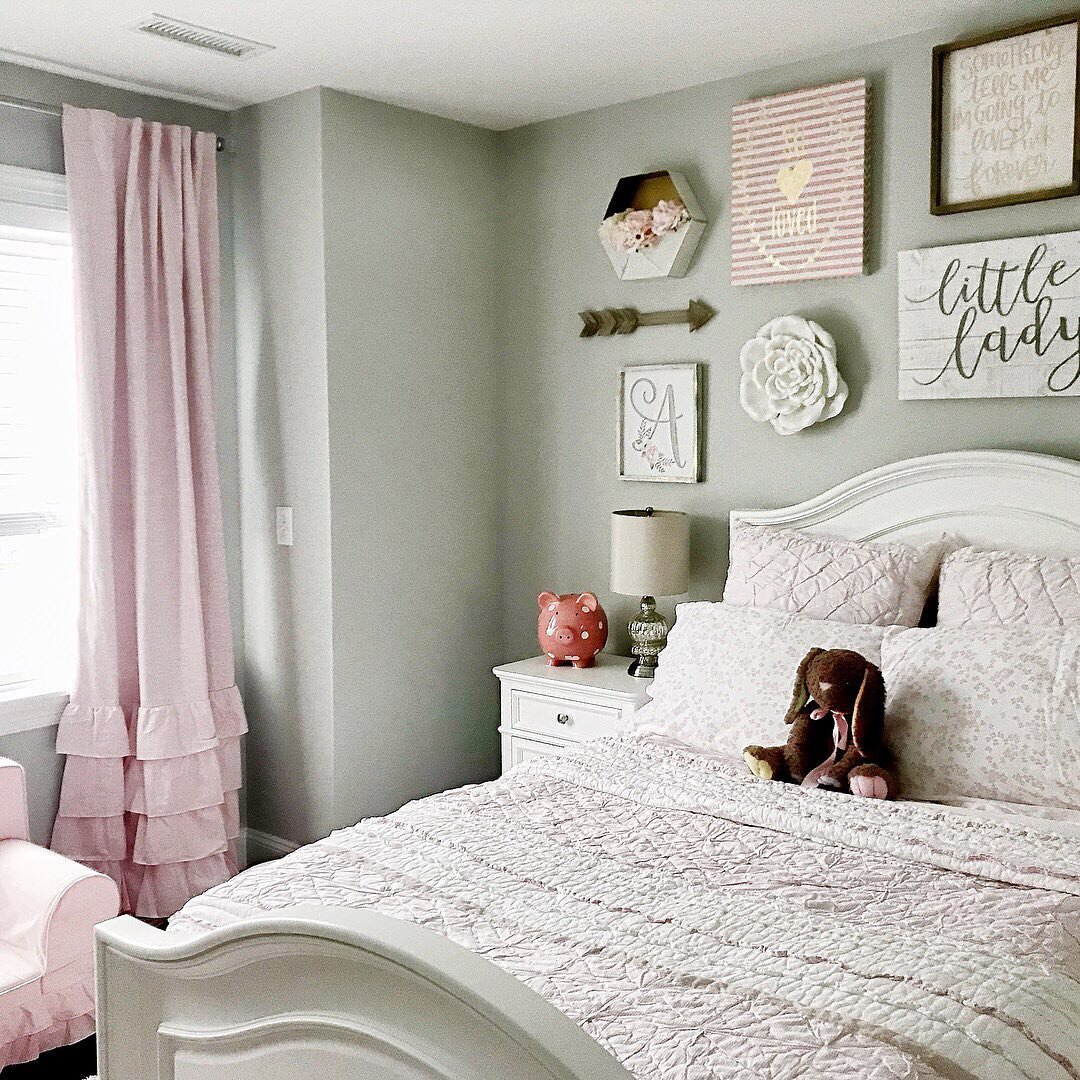
Hey Friends, I spend a lot of time putting together these posts, and I would love it if you’d show some love back and followed me on Instagram. Click on any of the pictures below from my current feed, and follow me! Thank you so much!! <3