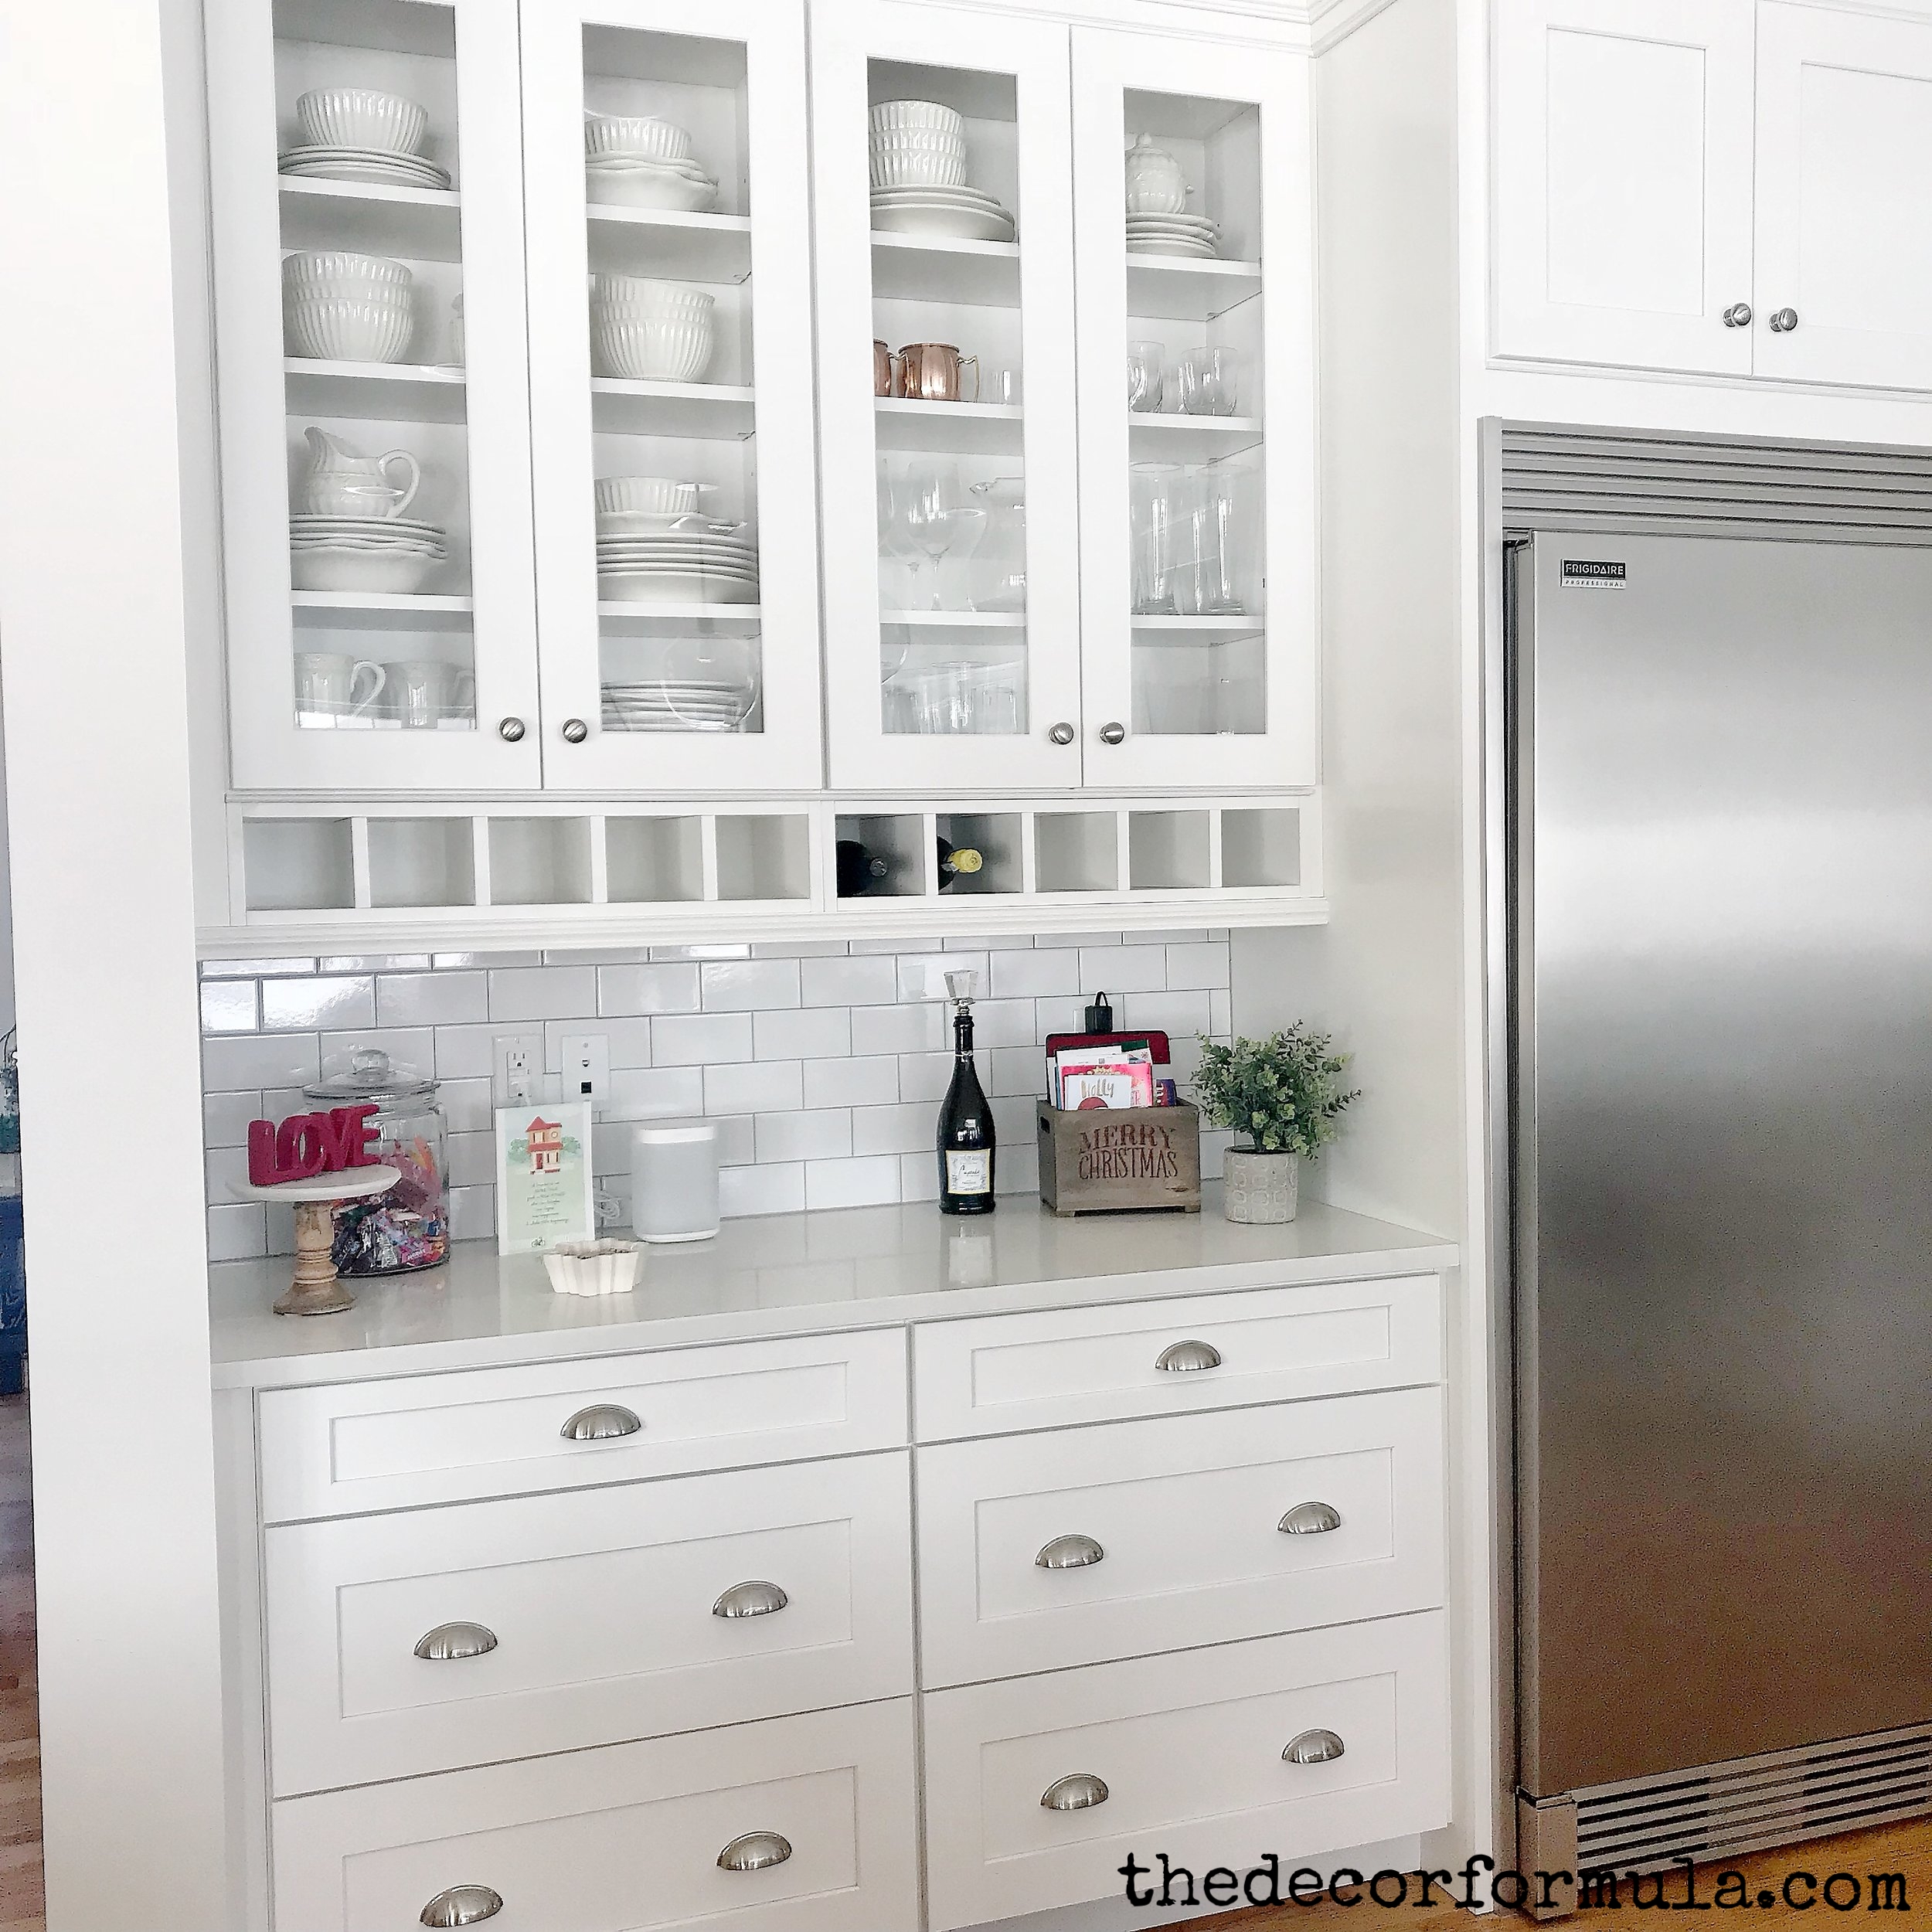
Display Shelf Organization: How to Organize Kitchen Display Cabinets
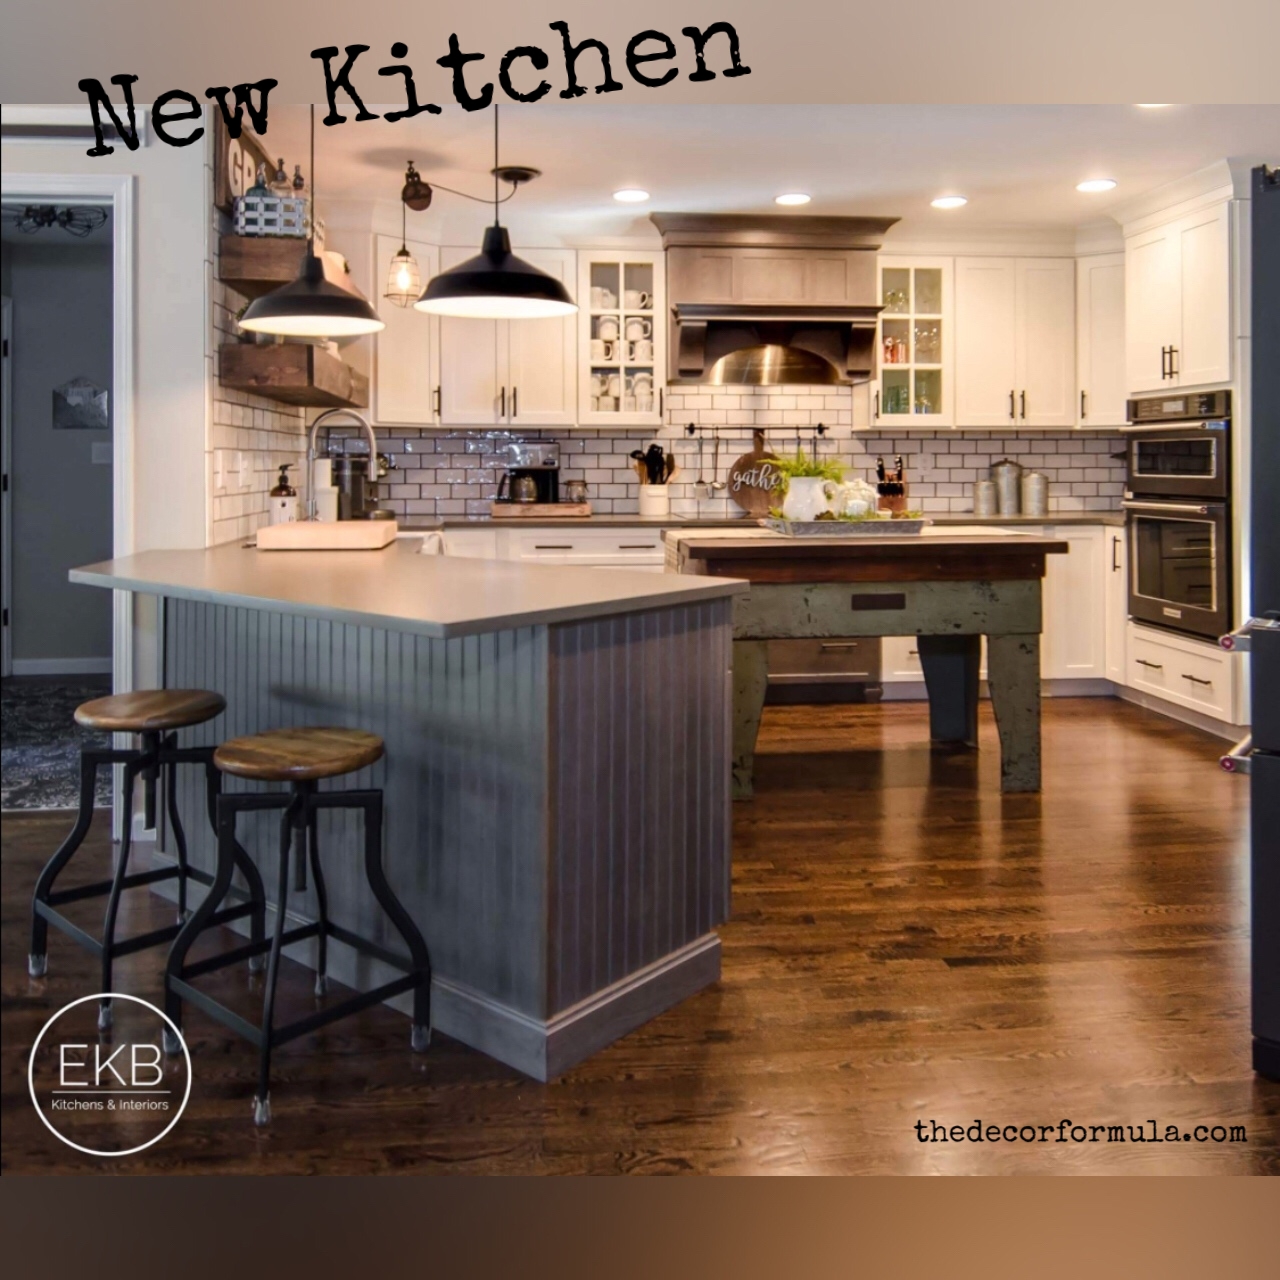
I have always loved the look of upper glass cabinets in kitchen designs. Our previous kitchen was loaded with cabinets, however none of them had glass. When we were designing our kitchen for our renovation- I knew I had to have some glass cabinets included in the layout to break things up a bit. Deciding how many to have was a challenge- because while I love the look of all glass uppers- I really didn't want all my kitchen stuff to be constantly on show and neatly organized.
While most people put a lot of thought into kitchen design, layout, and cabinets- when you actually have your kitchen complete, you'll start to question what exactly should go in these cabinets. Deciding what to display in these cabinets seems so simple, yet it can often be a challenge for some people.
Many times that challenge comes from having a collection of random glassware, plates, bowls, and mugs from over the years. My husband for one, is notorious for bringing home bar glasses that he finds cool-looking. And I'm definitely a snood when it comes to deciding where these should go since they don't match the rest of my "kitchen decor" and our cabinets can only hold so many glasses. I usually let him put it in the cabinet and then when he's not around I move these glasses to the basement bar. If he read this, he would tell you that he has a "glass" problem no more than I have a "mug" problem- and he's definitely correct. However, we're at full capacity over here and I declared that once I found the Rae Dunn mug that says "cocoa" I would not bring home another mug. I've kept my word.
(I swear these mugs invoke a certain feeling in my being when I drink out of them.)
If you've recently renovated your kitchen or you're starting to rethink what you have on display currently- now is the perfect opportunity to "clear house," get rid of the random glassware, and move your husbands bar glasses to the basement for safe-keeping.
Perfectly organizing your serving ware and glassware in these display areas can really change a space and compliment your kitchen design. In most cases this can be done with items you already own.
My formula for organizing this space:
Matching plates + bowls + mugs + different types of glassware + decorative serveware stacked in different arrangements and following the rules below.
(BTW: glassware is one word but serveware isn't?? Why??)
Rules:
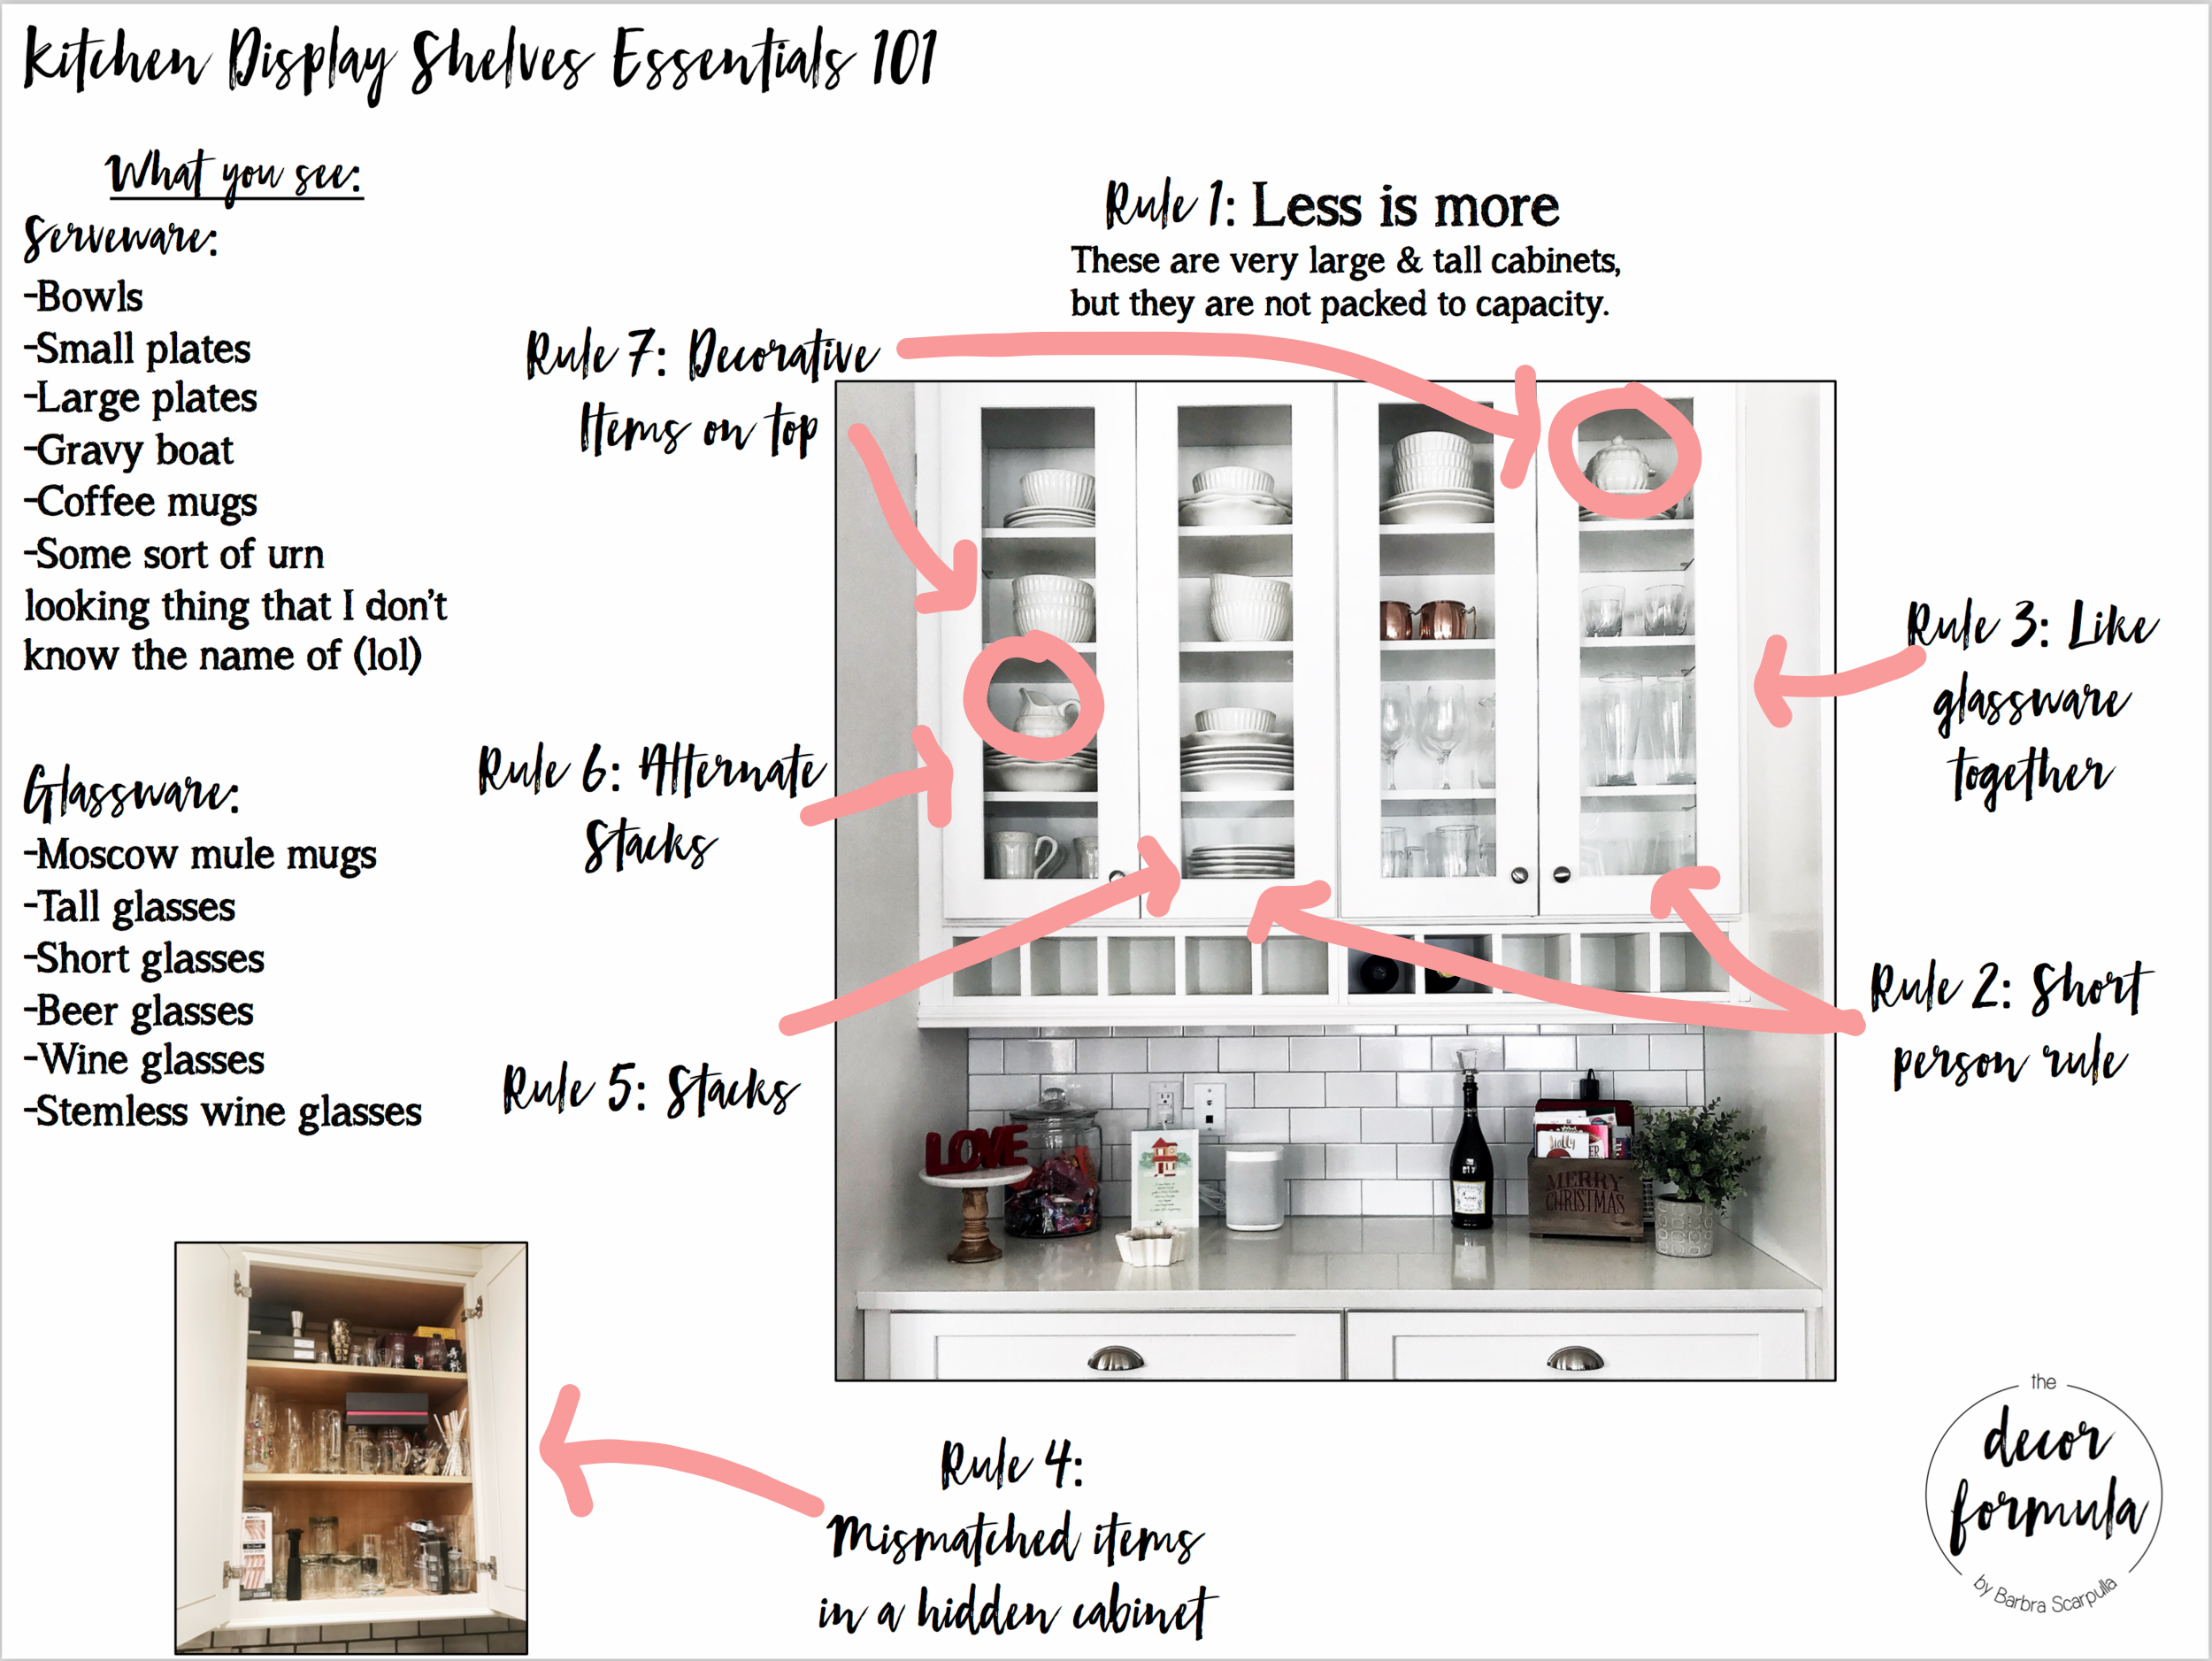
Rule 1: Less is more. Just because you have a ton of glassware, plates, bowls, etc- doesn't mean you need to display every single one in these cabinets. Some can be put in another cabinet for easier access and use.
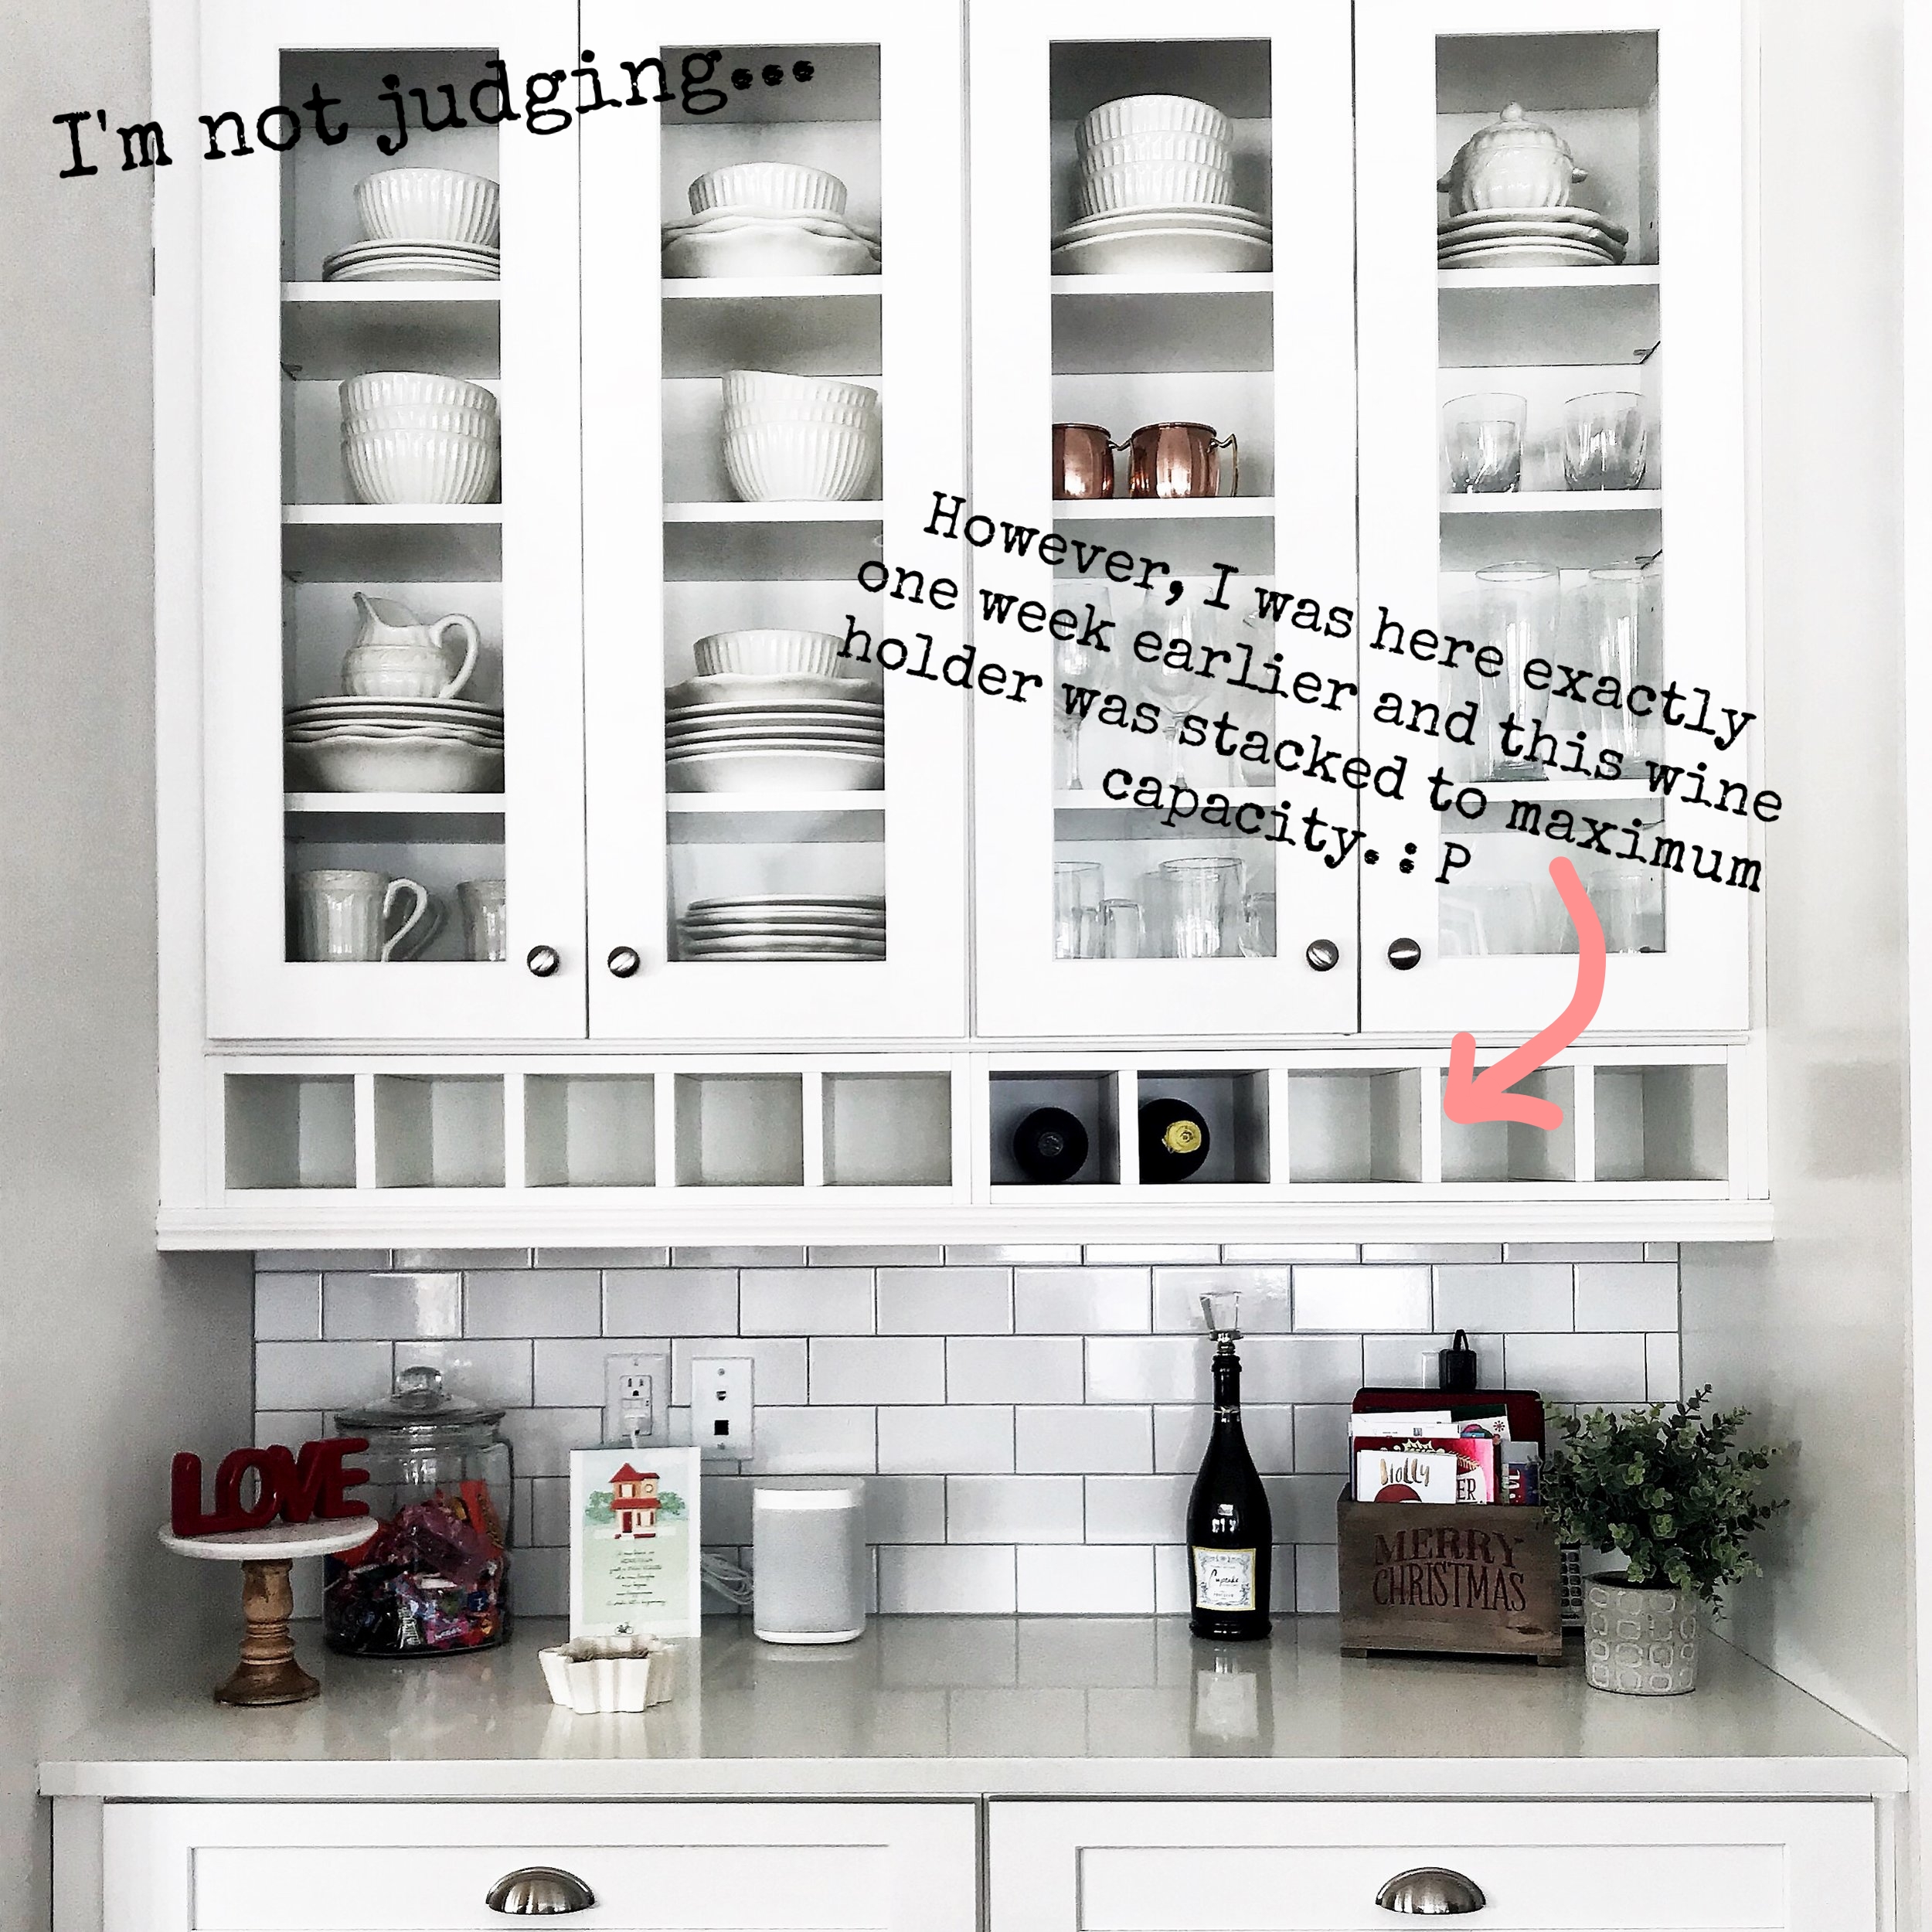
Rule 2: (Short person rule) Place the items you use the most towards on the lower levels of the shelves for easy access. (Notice in this cabinet that the stemless wine glasses were deemed most important and that's why they're on the bottom shelf.) This is especially helpful with the space pictured above because it serves as a dry bar for drinks when guests are over.
Rule 3: Group like glassware together. Tall bar glasses together. Stemmed wine glasses together. Regular glasses together. Stemless wine glasses together.
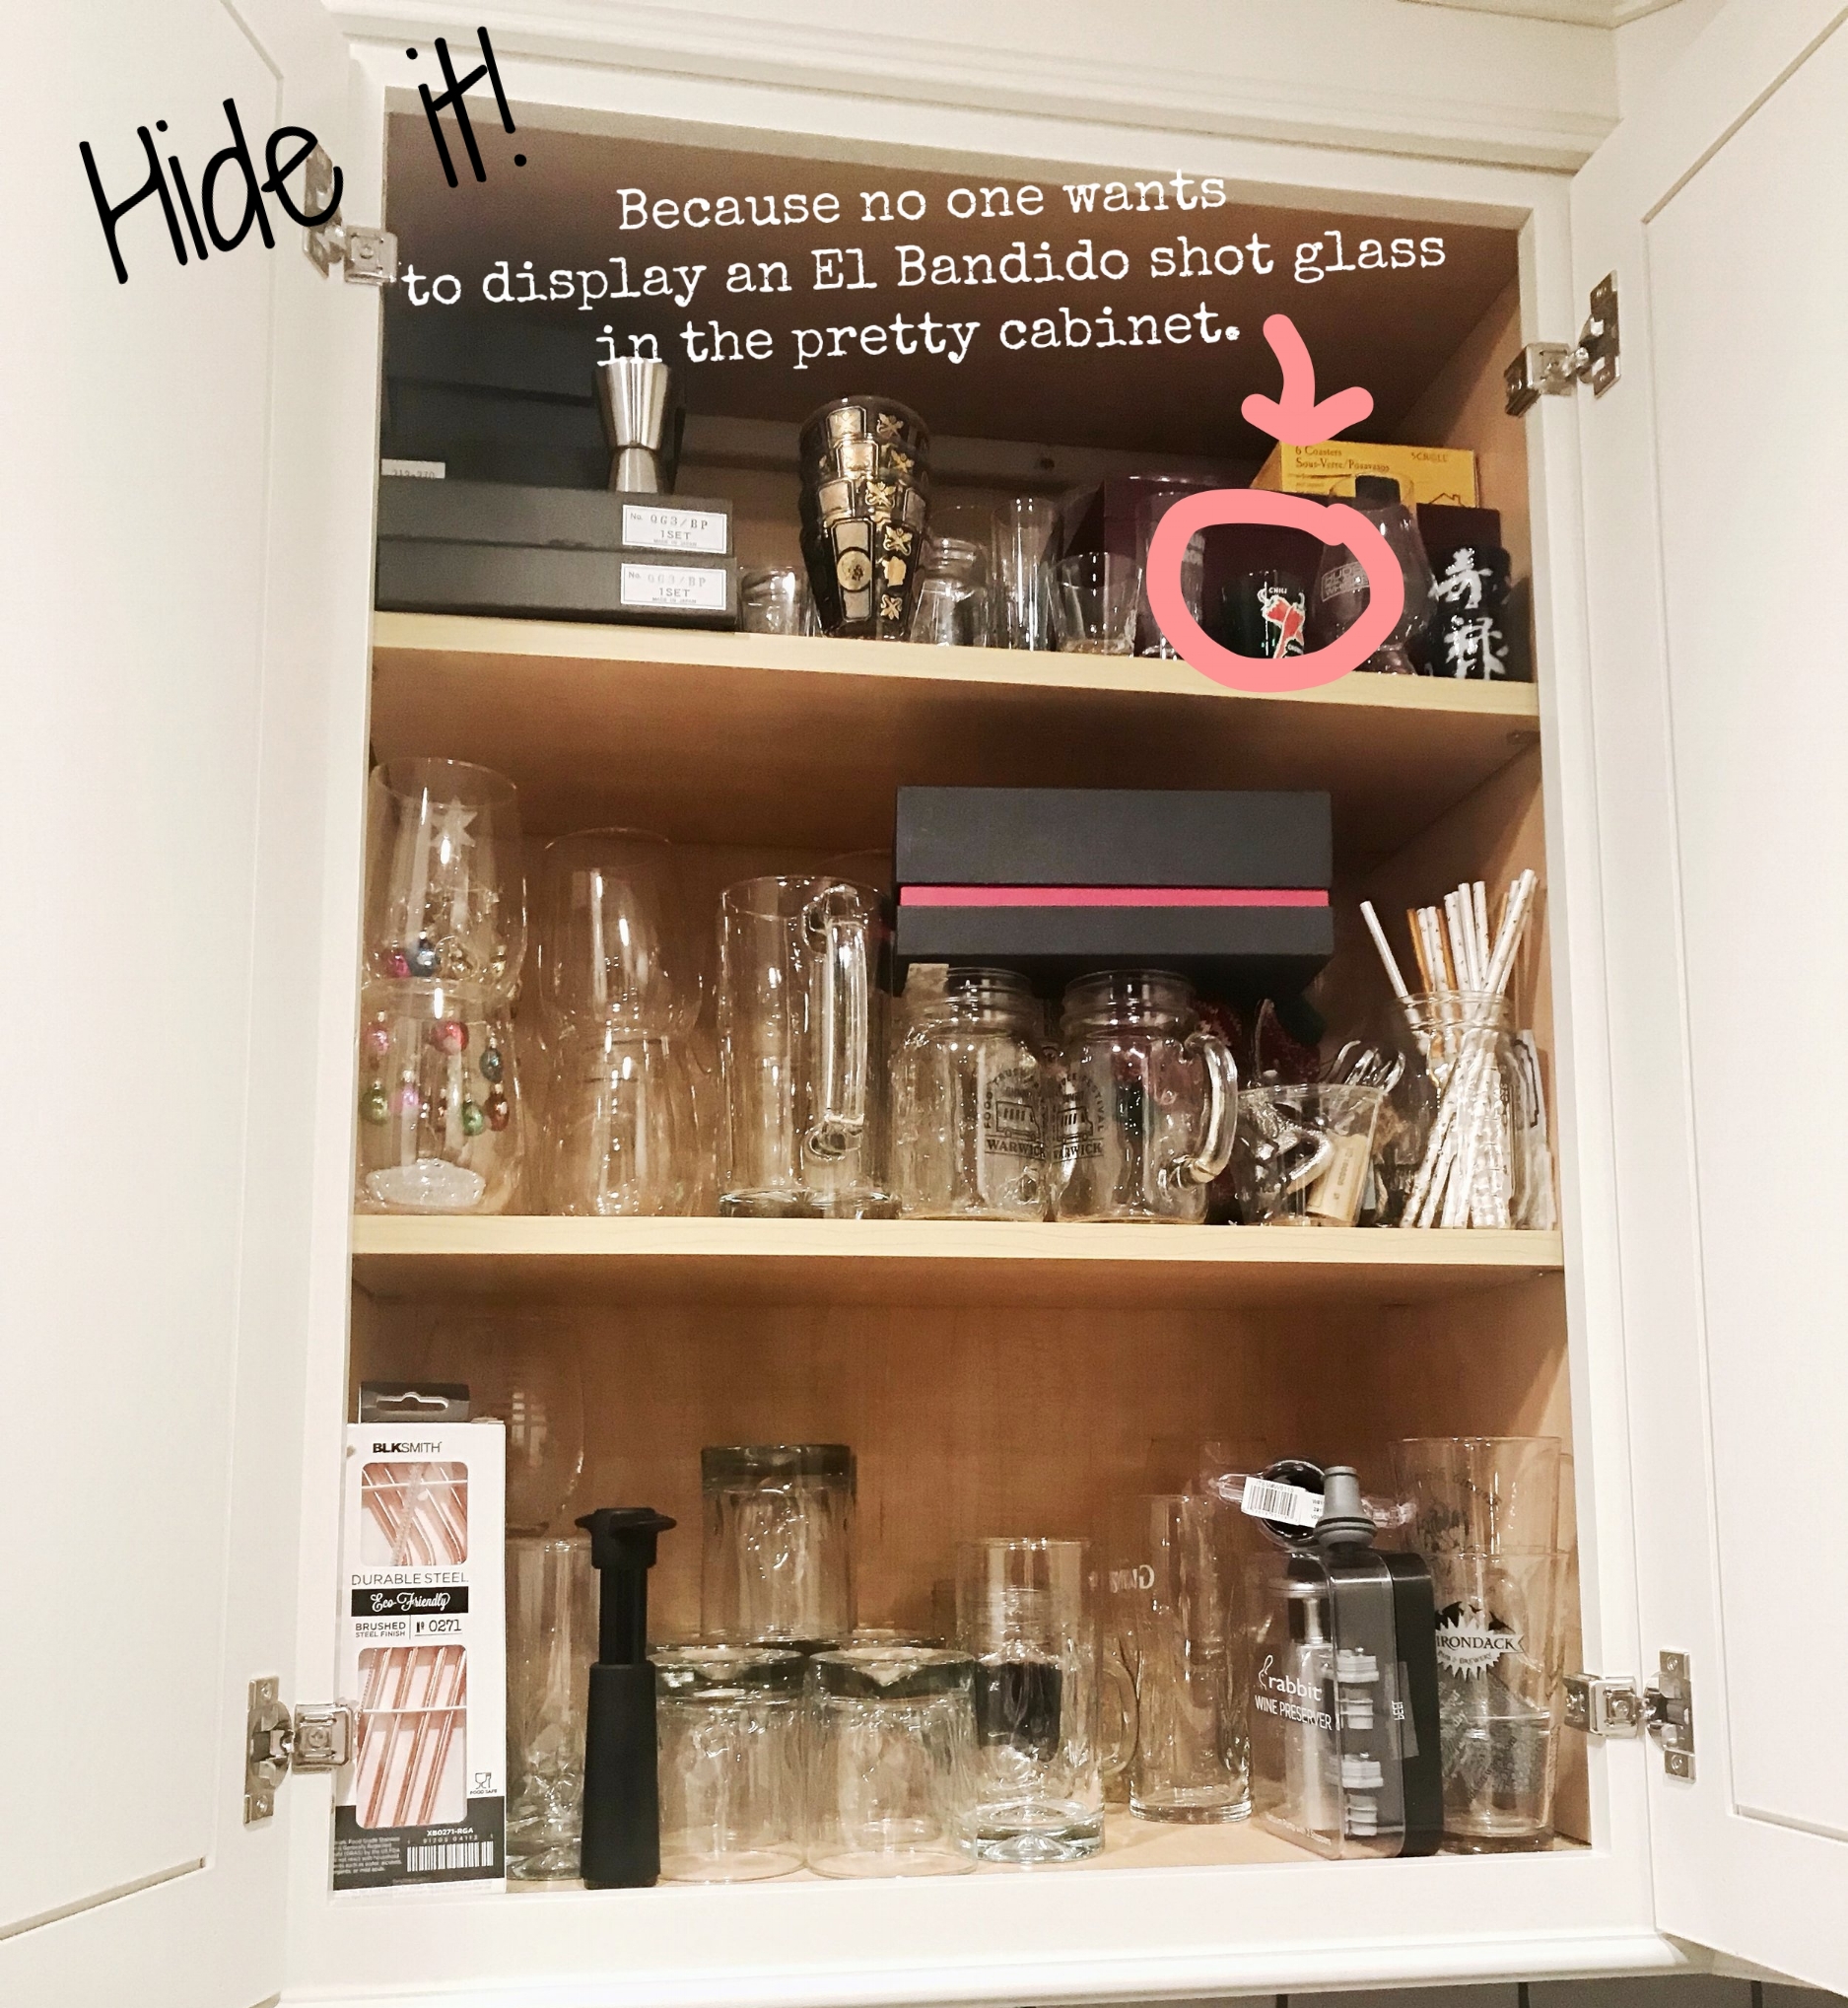
Rule 4: Put mis-matched glasses, mugs, plates, etc. in another cabinet that isn't glass.
Rule 5: Create Stacks. Take 3-6 of each item and make separate stacks of like items. For example, if you have 8 bowls: make two stacks of 3, and put left over bowls to the side. If you have 12 plates, make two stacks of 4, and leave the rest to the side. You will use the leftovers to layer on under or on top of your stacks later on.
Rule 6: Alternate putting stacks on different shelves and then use the "leftover" bowls and plates to layer on top of or below the items.
Rule 7: Take a decorative serving ware item like a gravy boat or sugar bowl and place them on top of some of the stacks. A glass or pottery water pitcher is a great example of something that could go on top of a shorter stack or it can stand alone.
And Viola... you have a magazine-worthy cabinet.
Tips:
Don't be afraid to add a pop of color with decorative items to draw the eye in. This person was a huge fan of white- but the pop of color in this case would be the moscow mule mugs.
Have a lot of small items? Try doing two alternate shelves with a small wicker basket to hide those items inside.
Don't put all like items next to one another on every single shelf. For example- don't put two like stacks of plates next to one another, then another shelf of bowls next to each other, and then another shelf of two stacks of small plates next to one another. It's ok to have some shelves with like items next to one another, but it doesn't look as good to have it on every single shelf.
Try this method with dining room buffet cabinets as well!
Thanks for stopping by and reading my post! If you enjoyed it please share my site with friends.
:) Barbra
Next week on my blog: Tips for creating chalkboard walls


